
Running from the Law had some really great instructions that we pretty much followed, but one of the big costs in making a headboard is the fabric. I knew we needed a high-quality fabric because we plan on having this headboard for many years. We both like to read or work on our computers in bed, so we knew the fabric would need to stand the test of time.
I found a few different fabrics I liked (they were all mainly Ikat patterns), but ultimately I decided that even at 50% off (making each yard at least $20), it was too much because I'd need four yards. Then I had an epiphany. What about shower curtains? Most of them are made out of heavy-duty material that will stand up over time, there are some with great patterns, and they are WAY cheaper, most coming in at under $30 for the whole thing.
I went to Target (oh how I love thee), and sent this picture to Will:
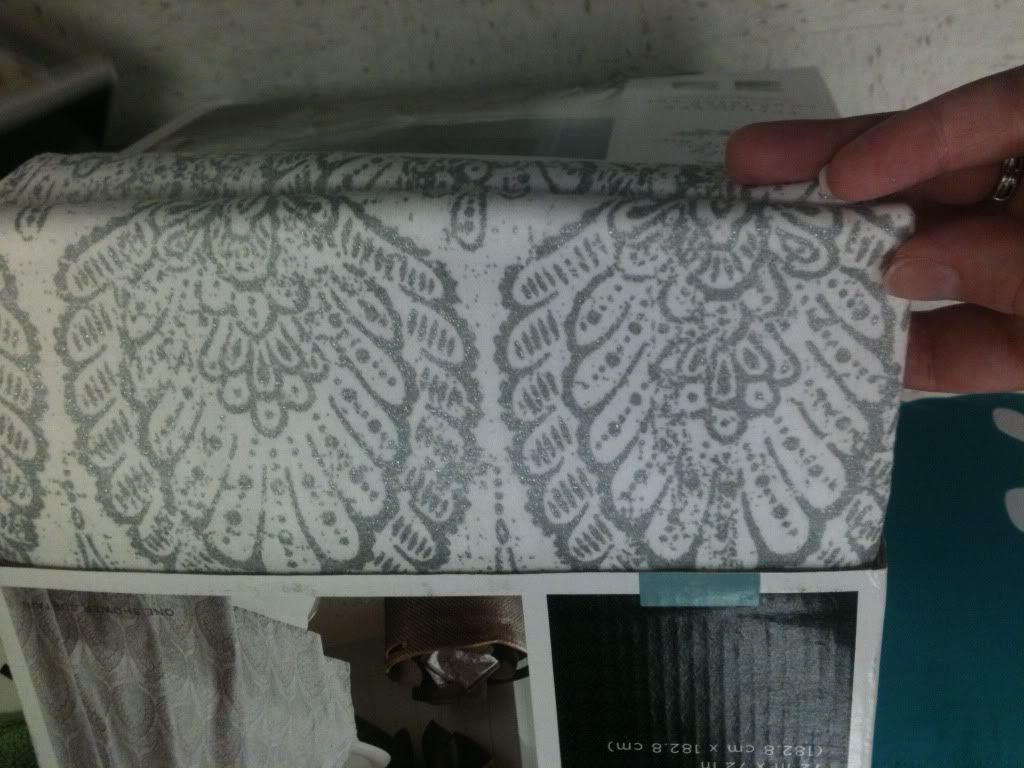
I believe his response was something along the lines of "whatever you want." I love that man.
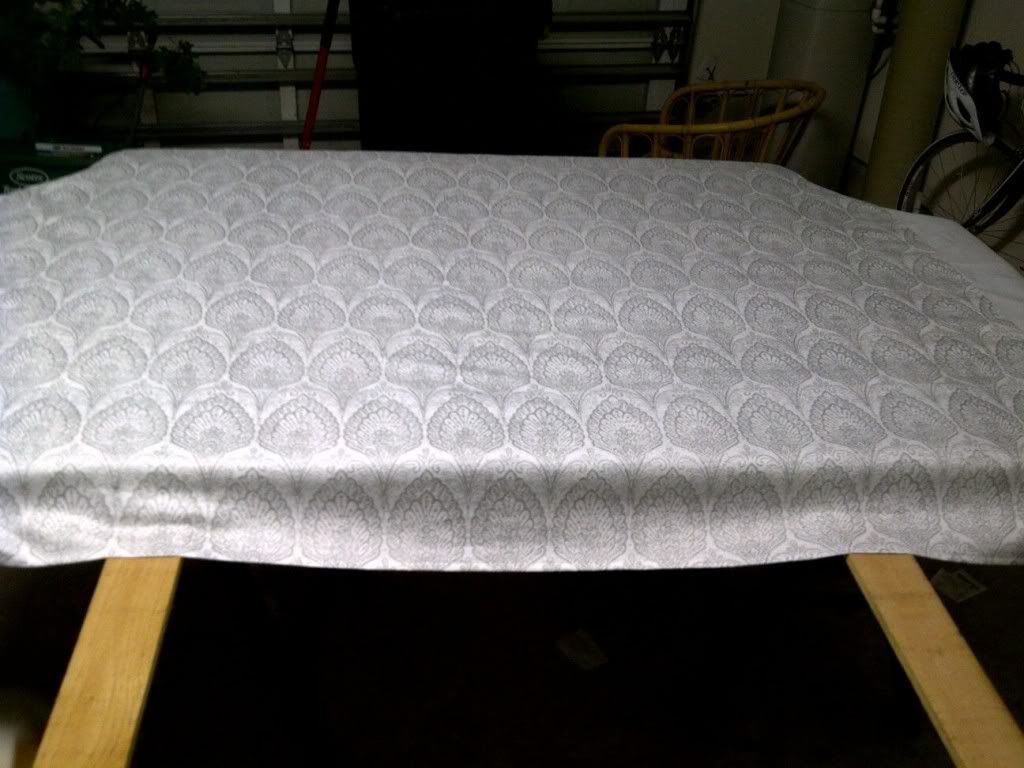
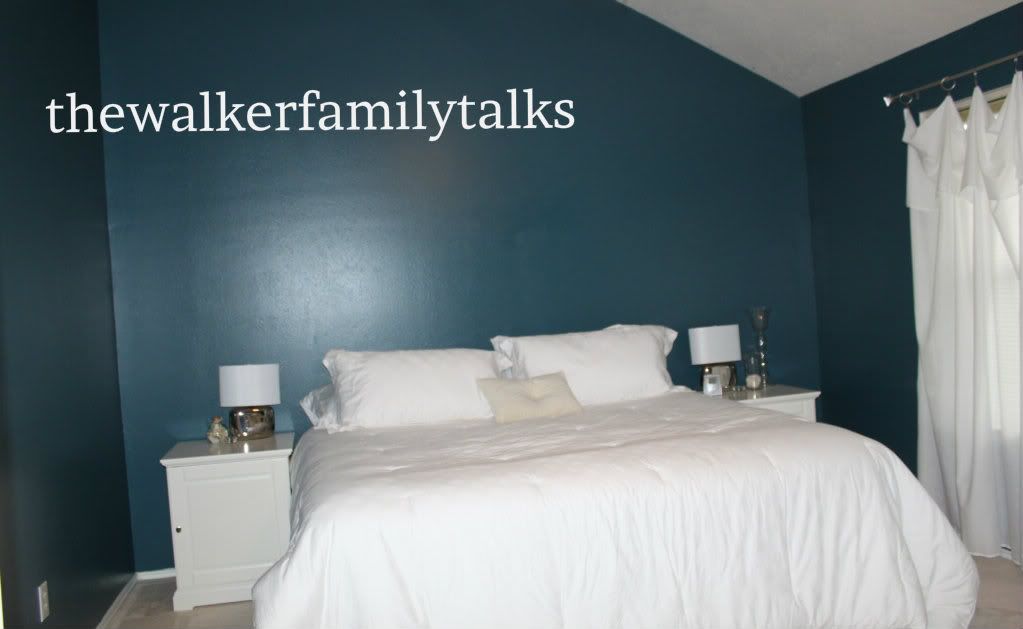
I chose this curtain because it has a white background but the pattern is silver and adds a little shimmer. Since all our walls are a dark blue I knew we needed a light colored headboard to even things out a little. The only problem was that it wasn't wide enough to go across the whole width of a king-sized headboard. I thought about buying another one (at $25 a piece it would still have been cheaper than fabric), but I didn't want there to be weird lines on the headboard and I didn't want to worry about trying to match up the pattern along each seam. Finally I decided to get some cheap white fabric and make a border along the left and right side of the headboard.
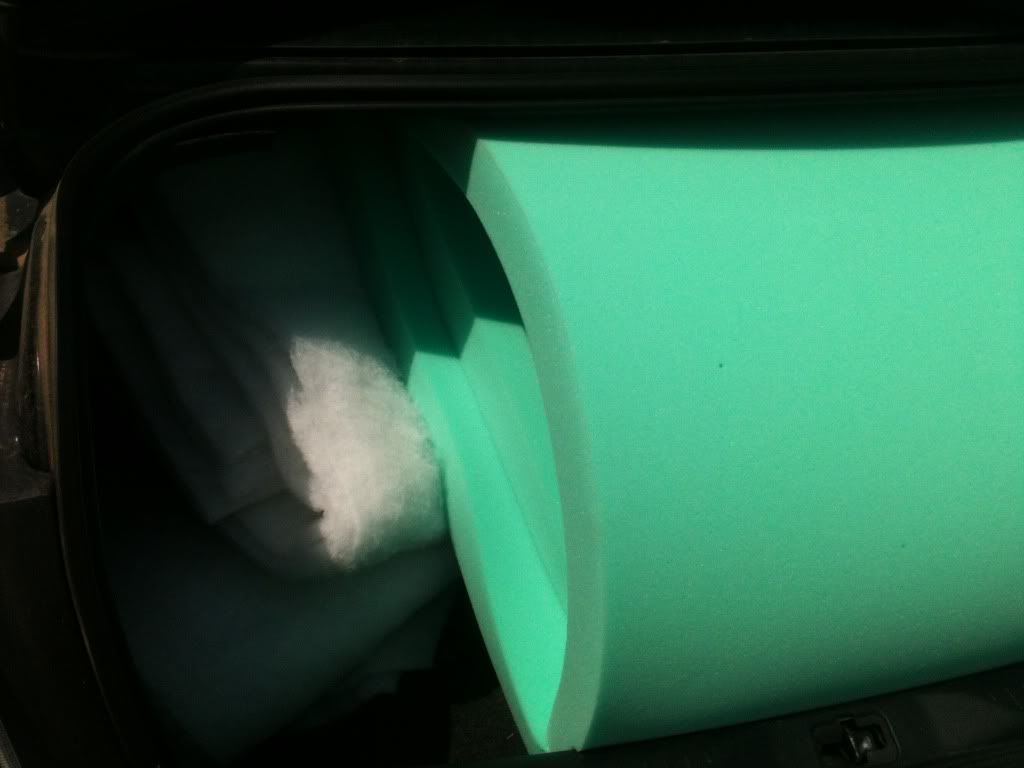 |
| The foam and batting took up our whole trunk. |
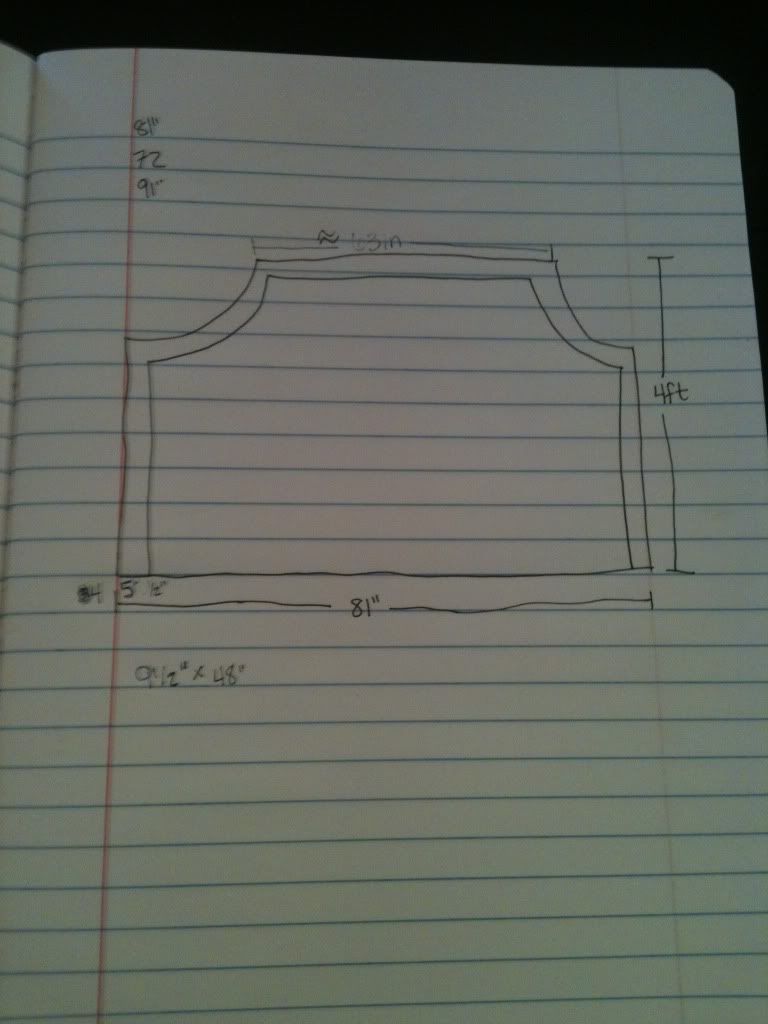
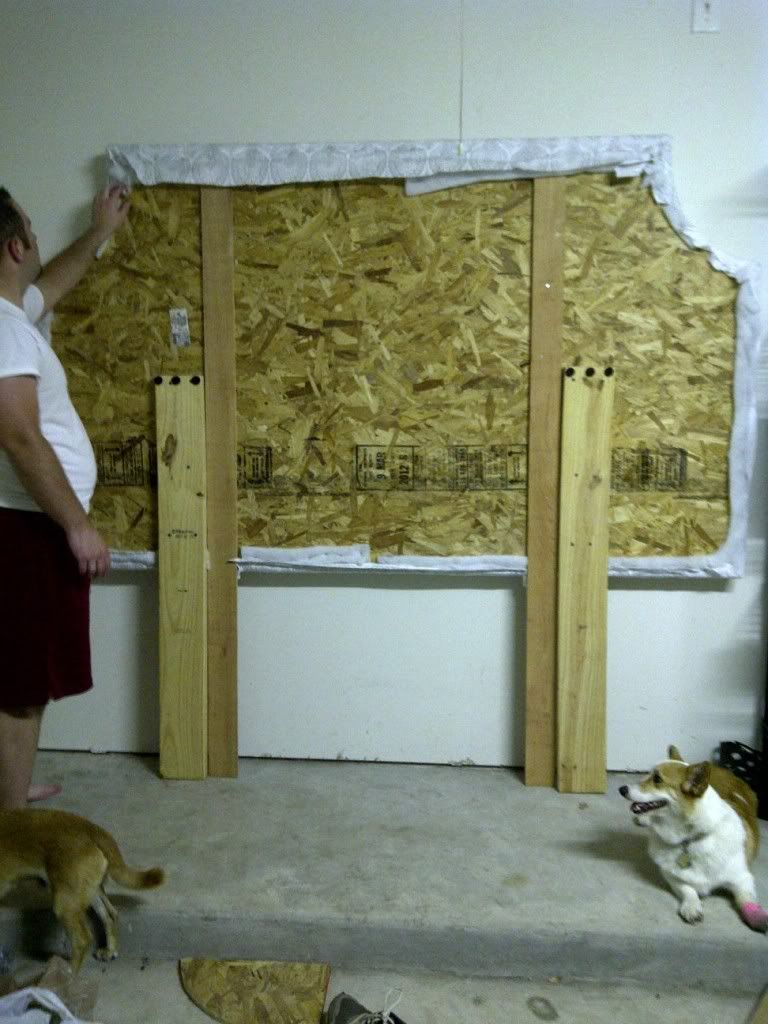
My goal was to make everything as simple as possible. The plywood came 4 feet tall, so that's how tall the headboard would be. (*Note: our ceilings are really high, so this look was fine for our room. If you have standard ceilings I would not suggest making your headboard this tall, or it will look very overpowering.) As you can see, I was originally planning on doing the white border around the whole headboard, but then I decided it would probably be beyond my basic sewing skills to make it look perfect and I didn't want to look at my sewing mistakes every day.
The shower curtain was 72'' x 72'', so it was plenty tall enough but about 9 inches short length-wise. I think I decided I wanted the white strips to be 4.5 inches on each side, but I added another 4-5 inches so I could wrap it around the sides and back. In hind site, I should have added at least another 2 inches of white to each side because it was almost too short to wrap around everything.
Enough talking-here are the pictures:
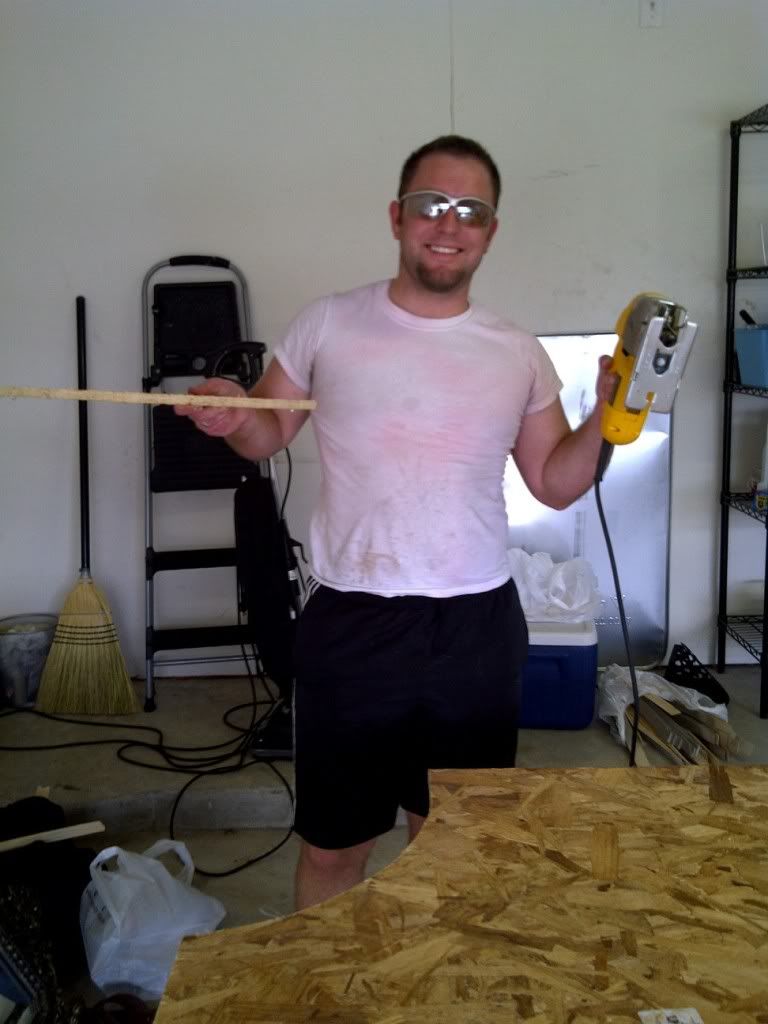
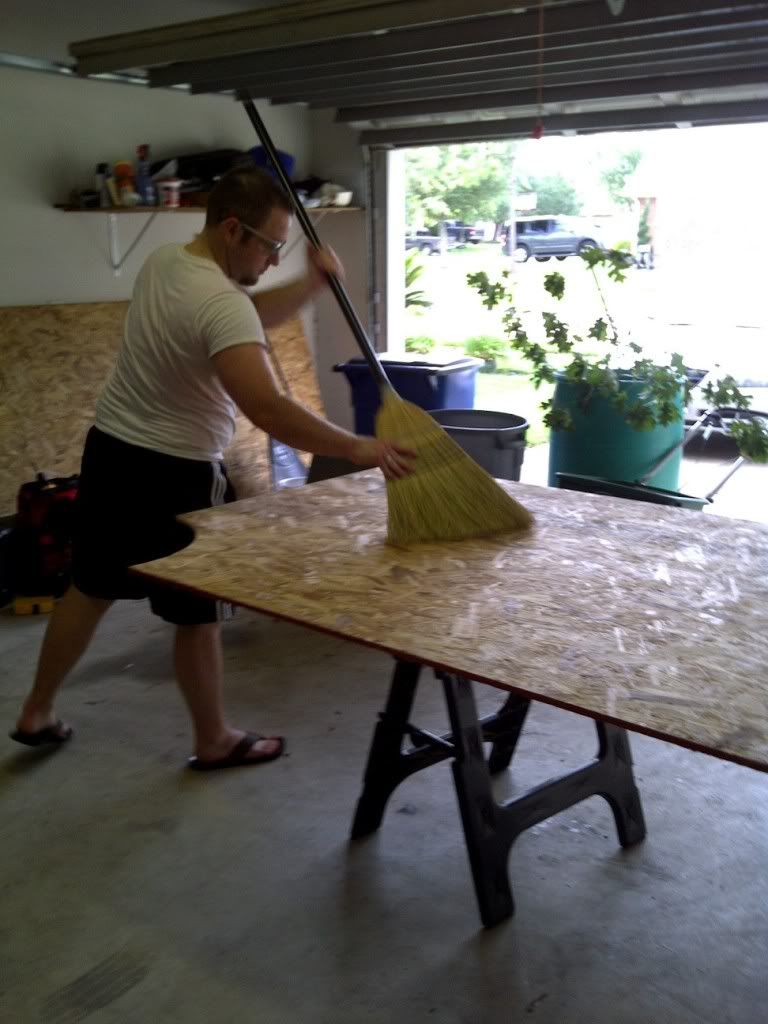
I didn't take a picture, but we used a round trash can lid as the template for cutting out the notches at the top. Make sure sweep/blow off all the sawdust before putting on the foam.
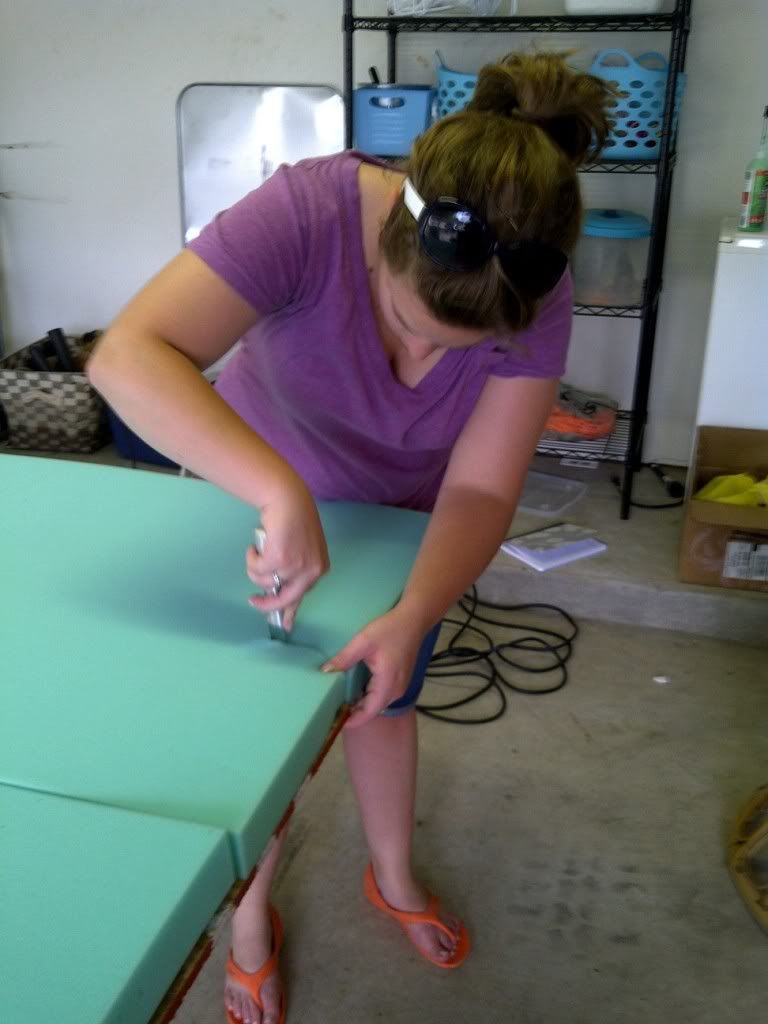
I probably would have used an electric knife to cut the edges if we had had one, but all we had were kitchen knives and they worked fine.
We also used spray adhesive to spray both the wood and the foam to ensure the foam didn't sag down over time, even though the fabric should hold it in place. When it comes to projects like these it's not worth it to take a shortcut when the results could cost way more in the long run. If you're making a smaller headboard this step probably wouldn't be as important.
I don't have any pictures of putting on the batting, but we basically put it on the top (we also sprayed the batting to the foam), and we worked around all the edges with me pulling it tight and Will staple-gunning it to the wood. I've seen people attach the legs first and stand it up to do the stapling, but Will was fine with sitting on the floor under the headboard and stapling.
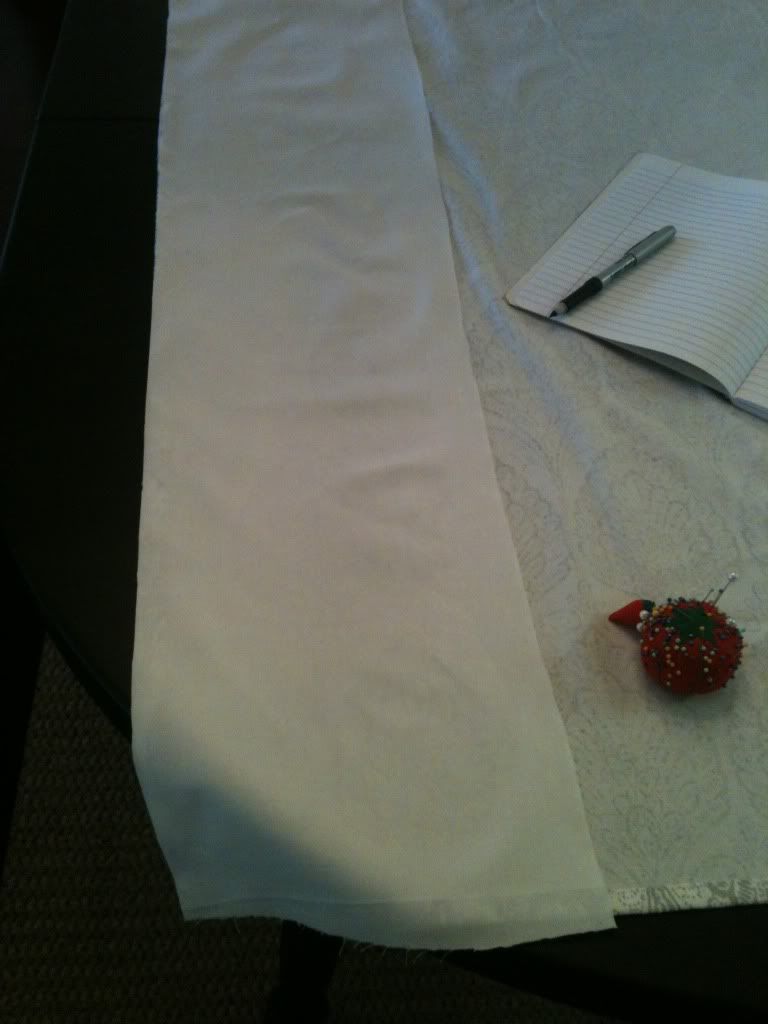
Cut the border fabric, iron, pin it to the shower curtain, and sew it on.
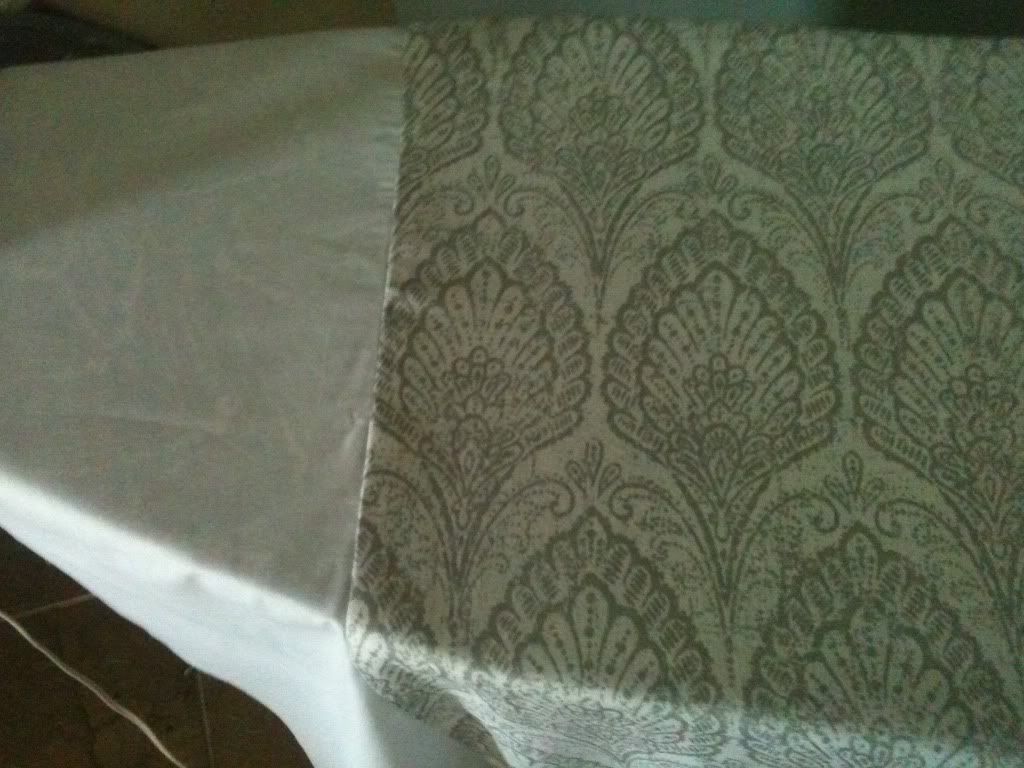
Once you're done sewing you'll want to make sure you iron down your seams so they lie flat. I ironed mine towards the shower curtain because I was afraid they might show under the white fabric.
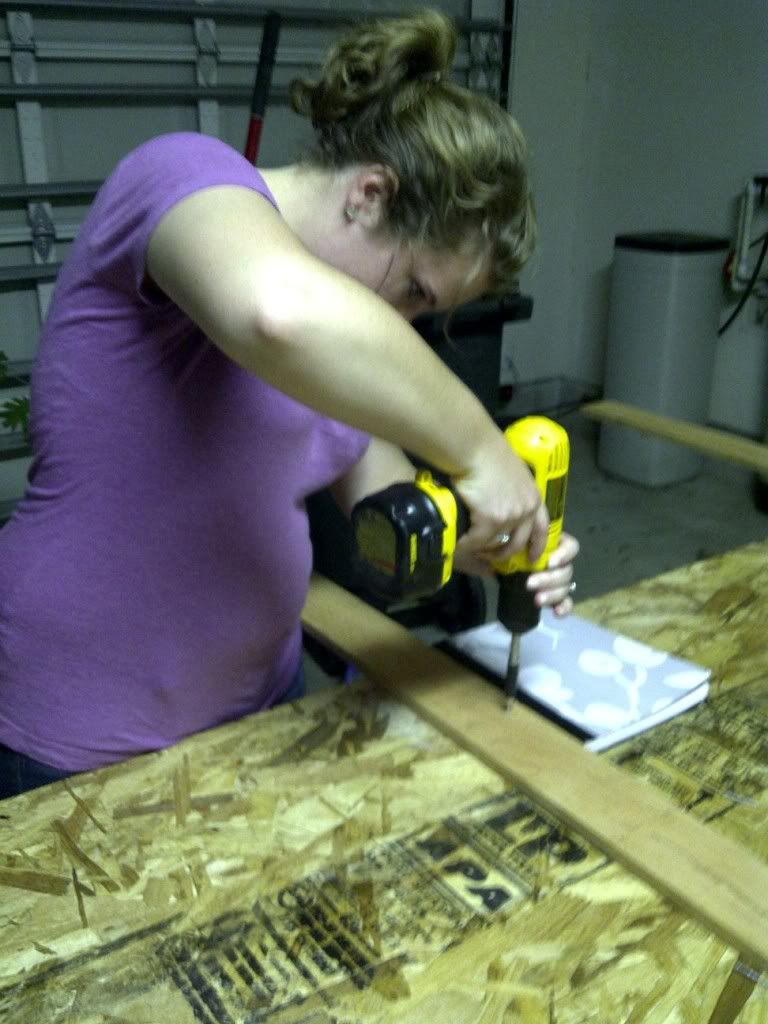
At this point we attached the legs. Will just measured how high the top of our mattress is off the ground and subtracted about 1.5 inches to determine how high to make the legs. Originally we only used two, but before we moved it into the house we added another two just to make sure it was secure (this thing was kind of heavy).
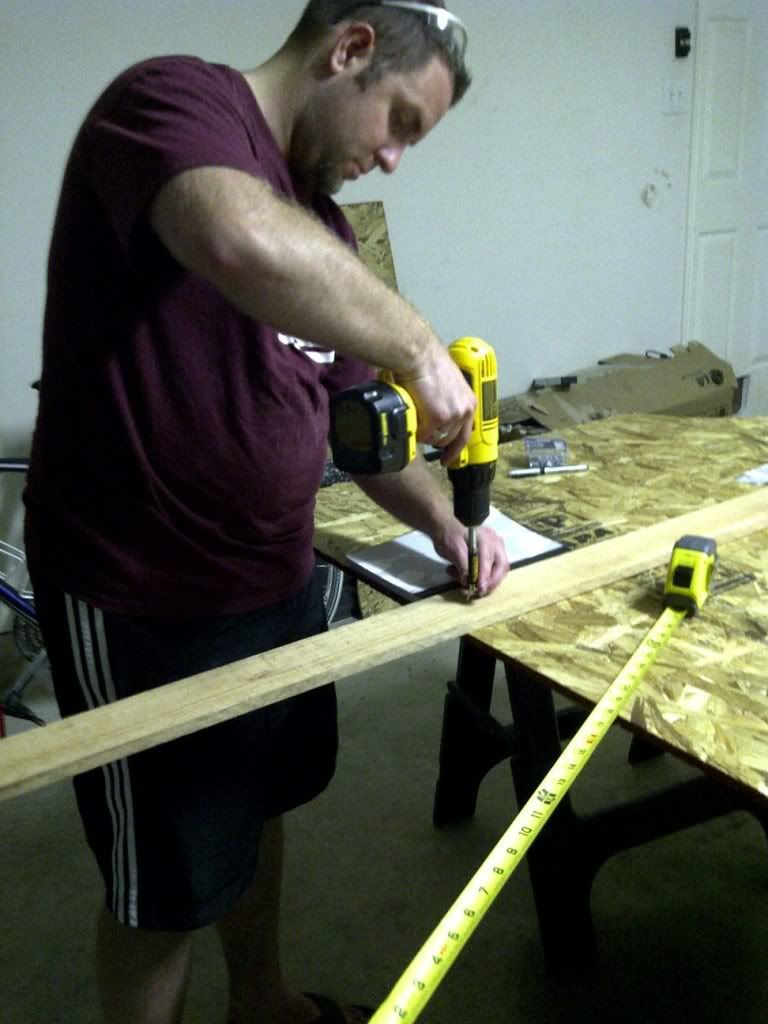
Lay out your fabric and make sure you have the same amount of white border on each side. I used the measuring tape each time we stapled just to make sure.
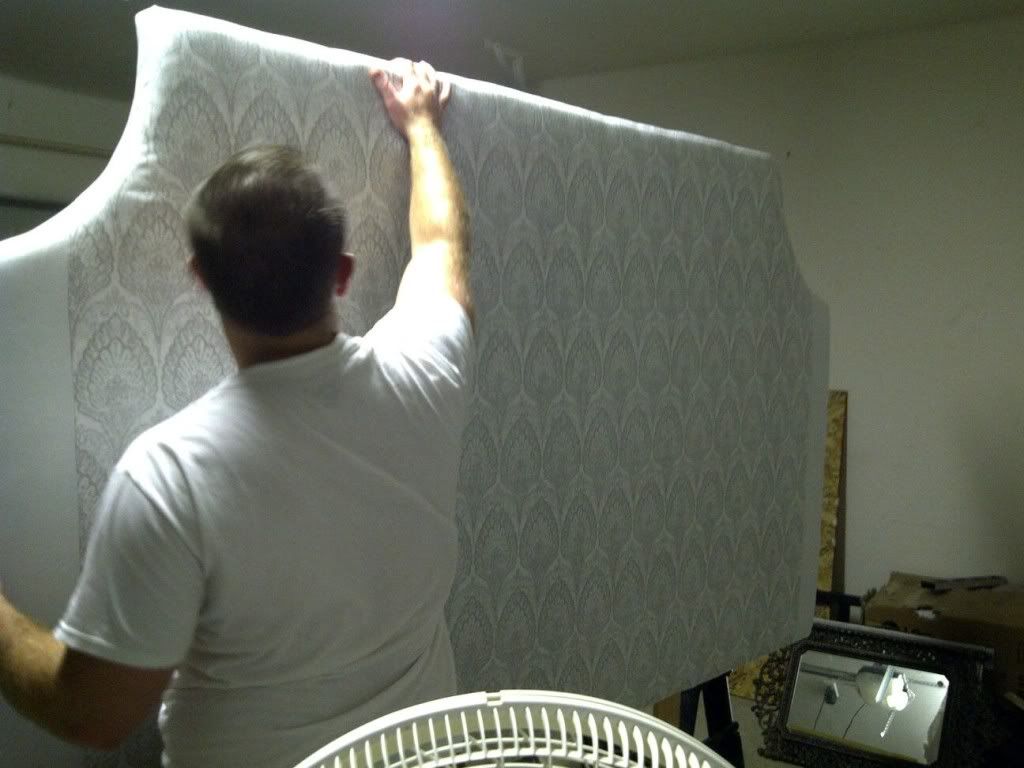
Are you ready? Here's what it looked like when we left back in March:
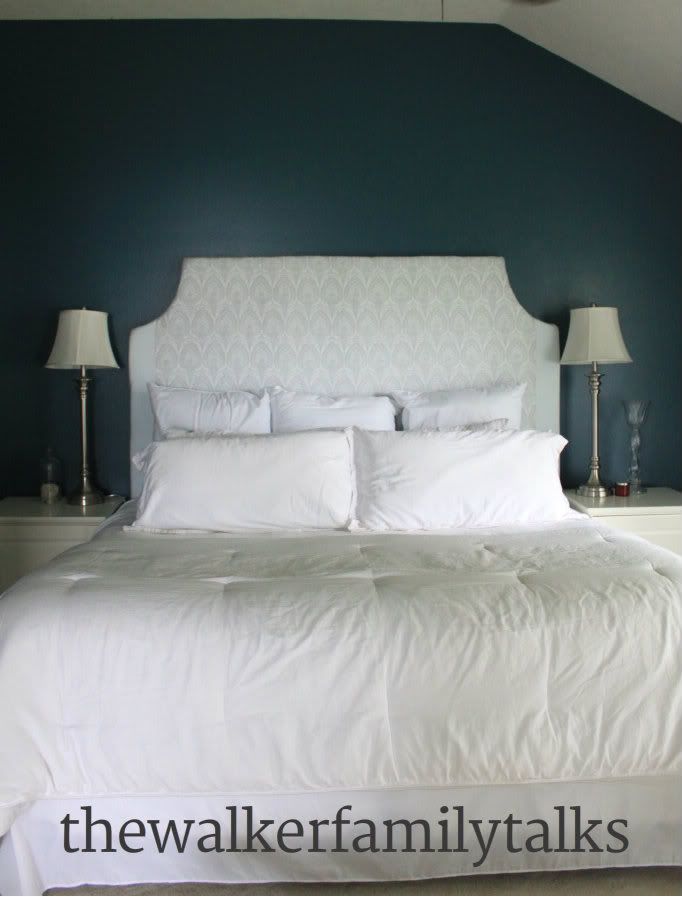
We love it. Like, we LOVE love it. It's super plush, it fills up the wall, and it's everything I wanted. Will really likes it too.

Here's the budget break down:
Plywood: $8
Wood for legs (2x6s): free because we had it, but probably would have cost about $6 total
Shower curtain (this one): $25
White fabric: $7
Foam and batting: $85
Total: $125
$125 for a king-size headboard?! Yes, please. Most I saw online were at least $500 and way out of our price range. But utilizing sales and finding a much cheaper alternative to buying fabric by the yard, we were able to make a completely customized headboard for a price even college students can handle.
What do you think? Have you ever "hacked" something to make a more affordable but equally fabulous version?
Love love love it! I'm so glad it worked out for you! The shower curtain is a genius idea! I think it looks fantastic!
ReplyDelete