
Enough chit-chat, this post is about our living room. Our living room is kind of oddly situated, but the open floor plan of our house allows it to flow nicely. It's right by the kitchen, but the small wall between the two is good for sound barrier.
This is what it looked like when we moved in:
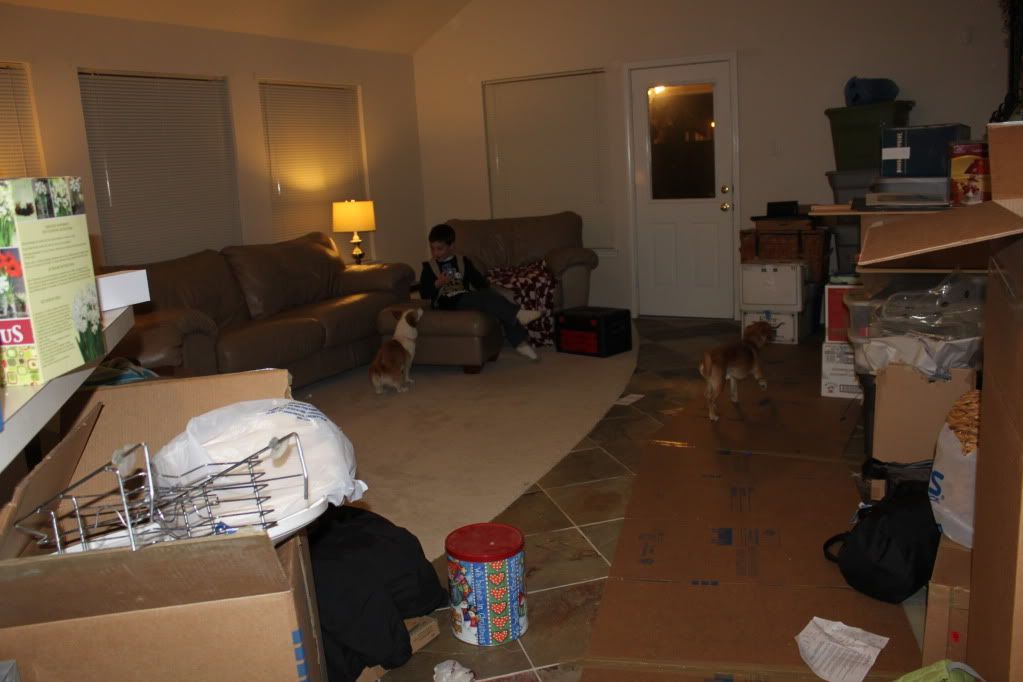
The same white walls throughout the whole house. Blah back door. Builder-grade blinds.
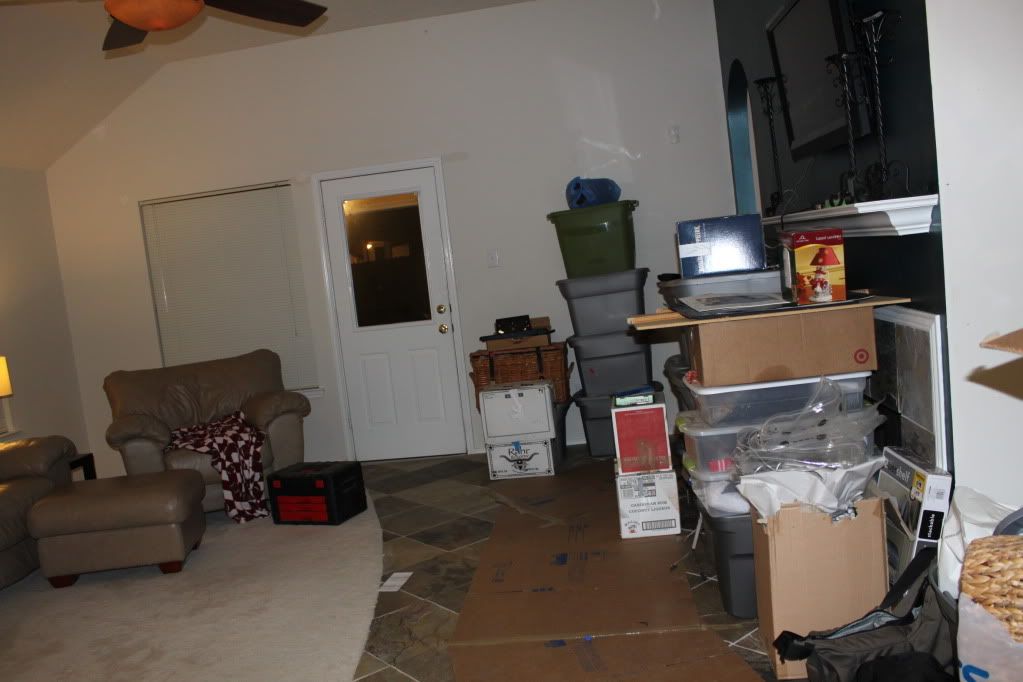
And let's not forget the accent wall.

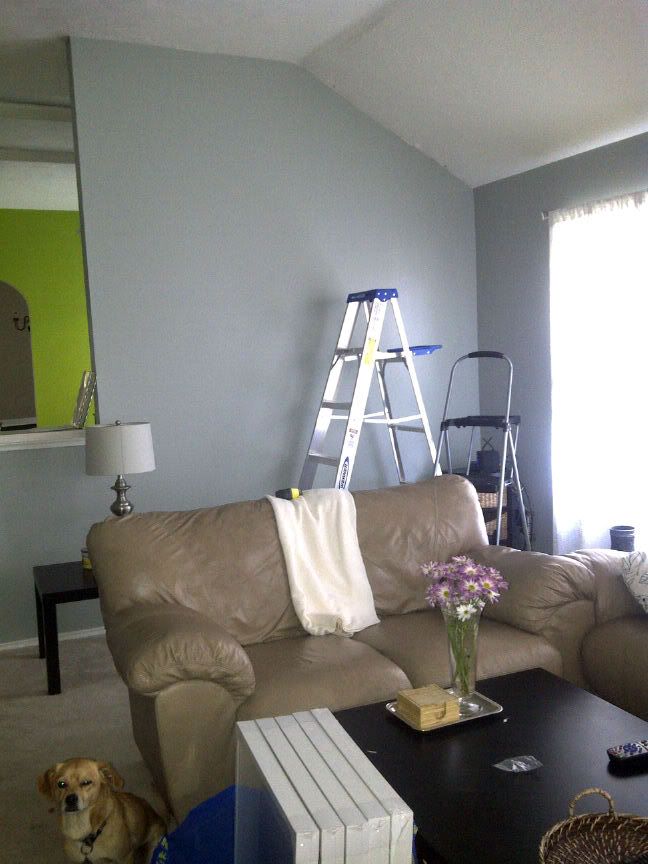
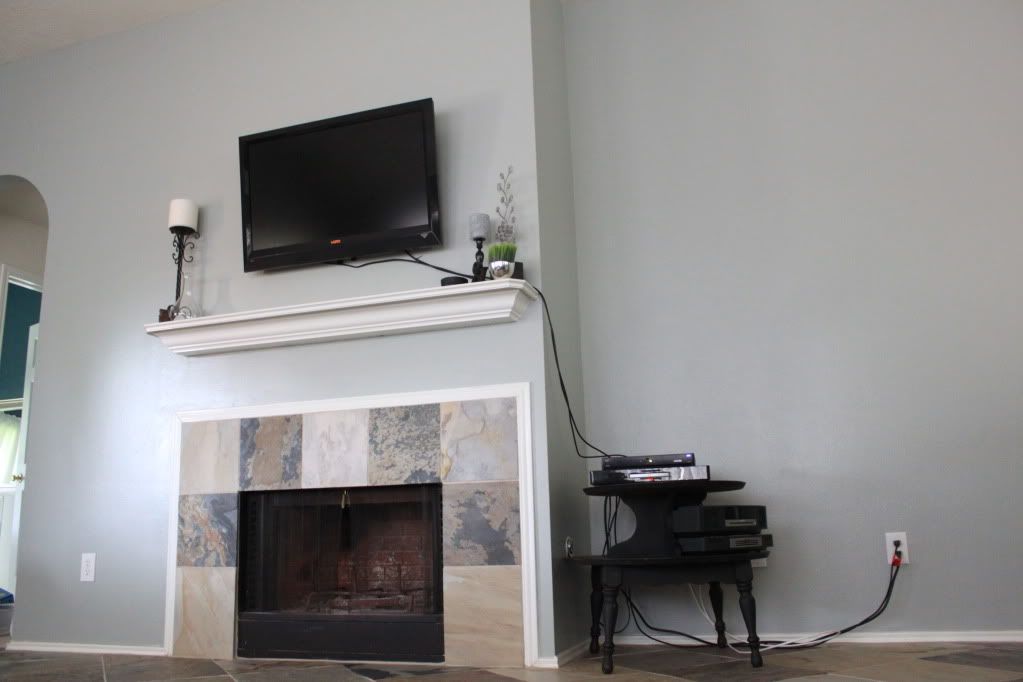
Over spring break we painted. It's a good thing we like the color because it took a LOT of paint (like 6-7 gallons, I think). This room will be this color for a long time, needless to say.
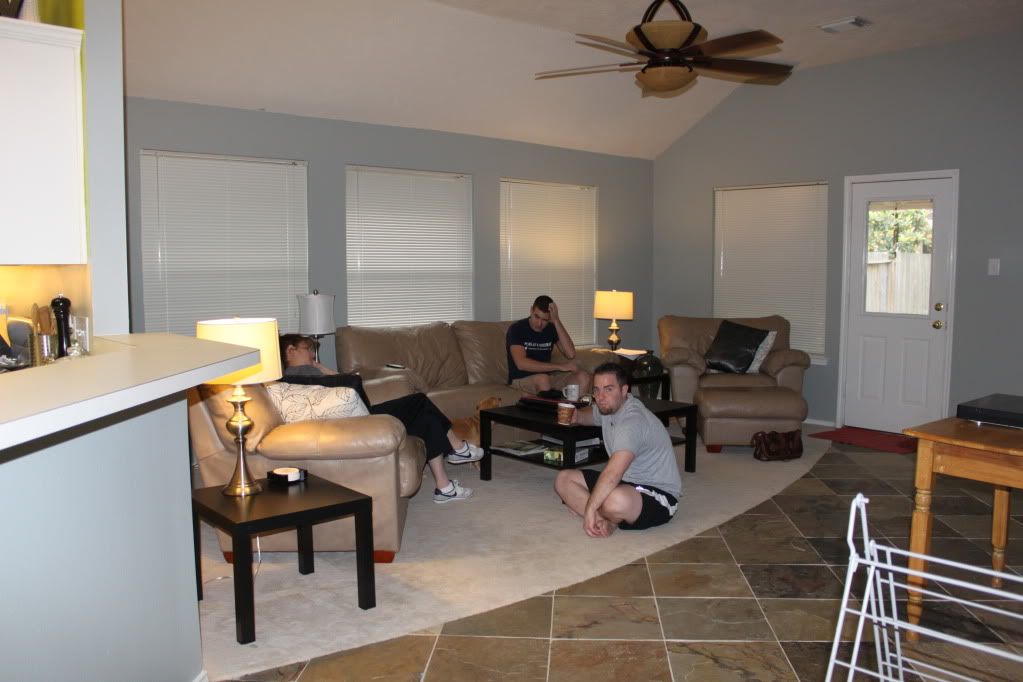
A lot better, but still kind of blah.
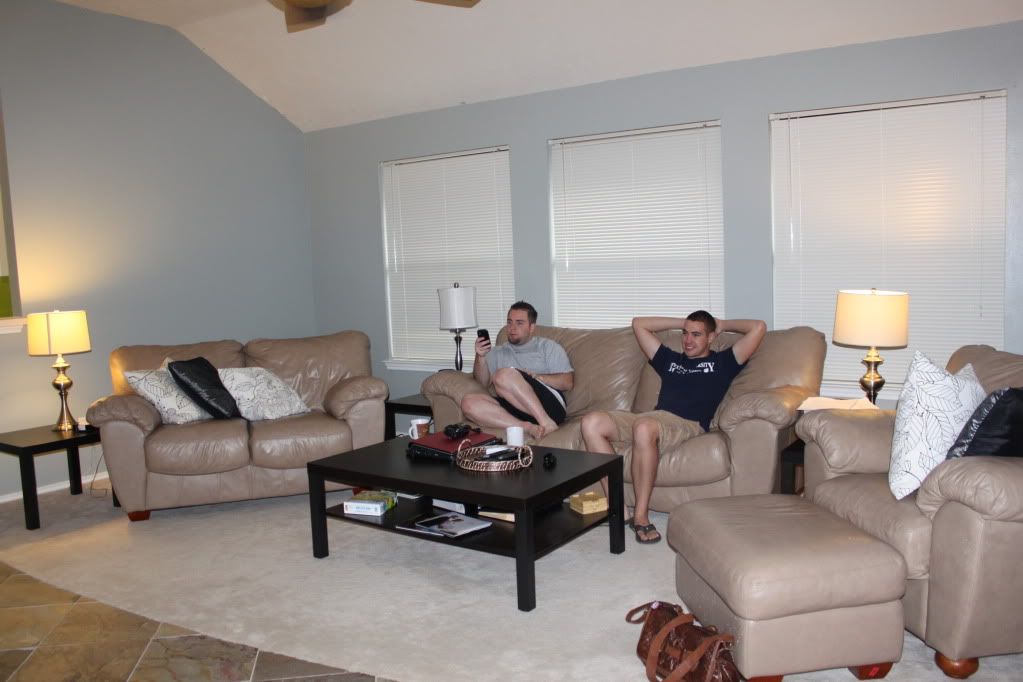
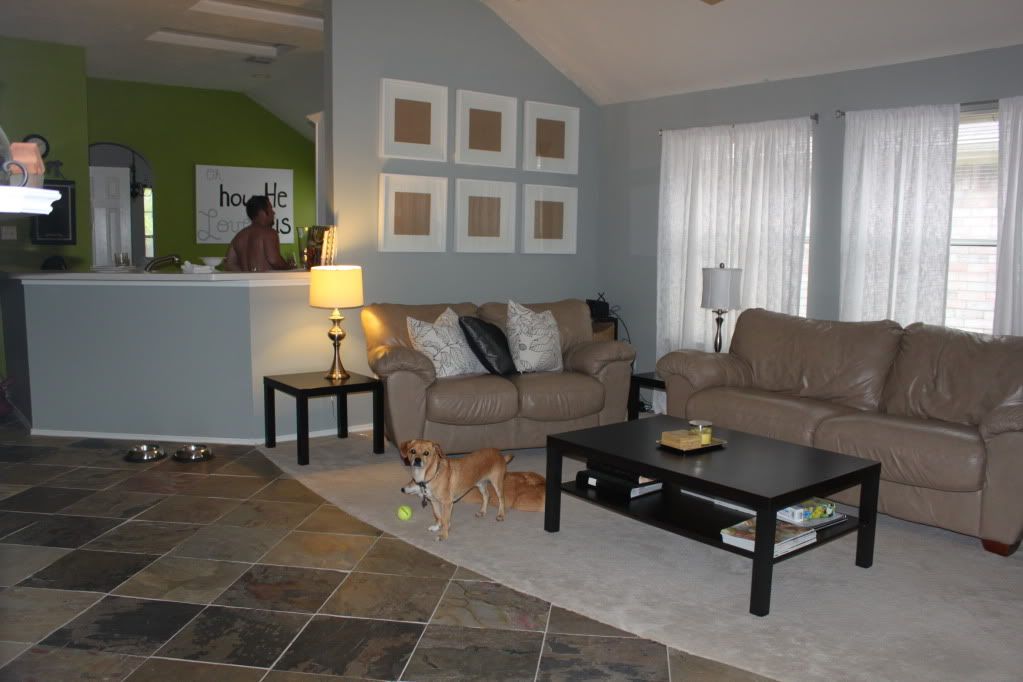
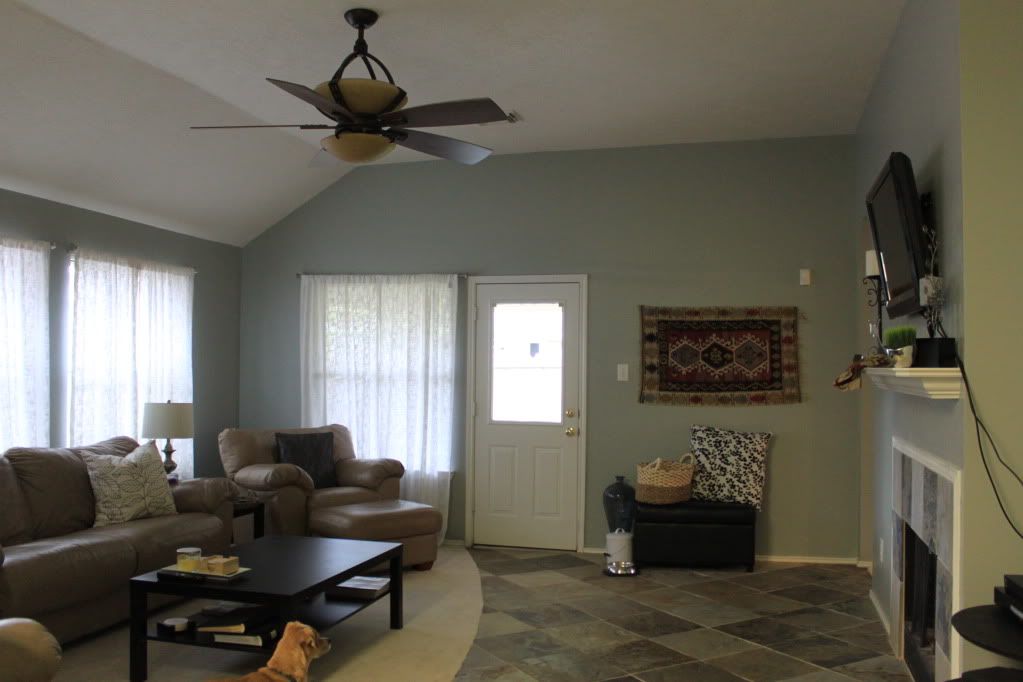
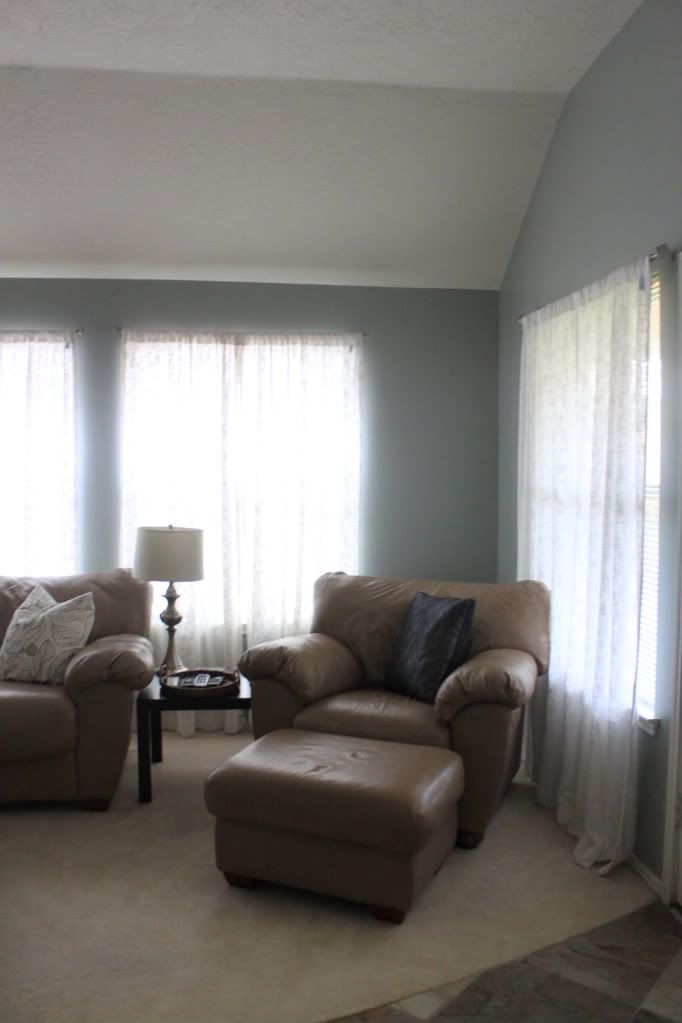
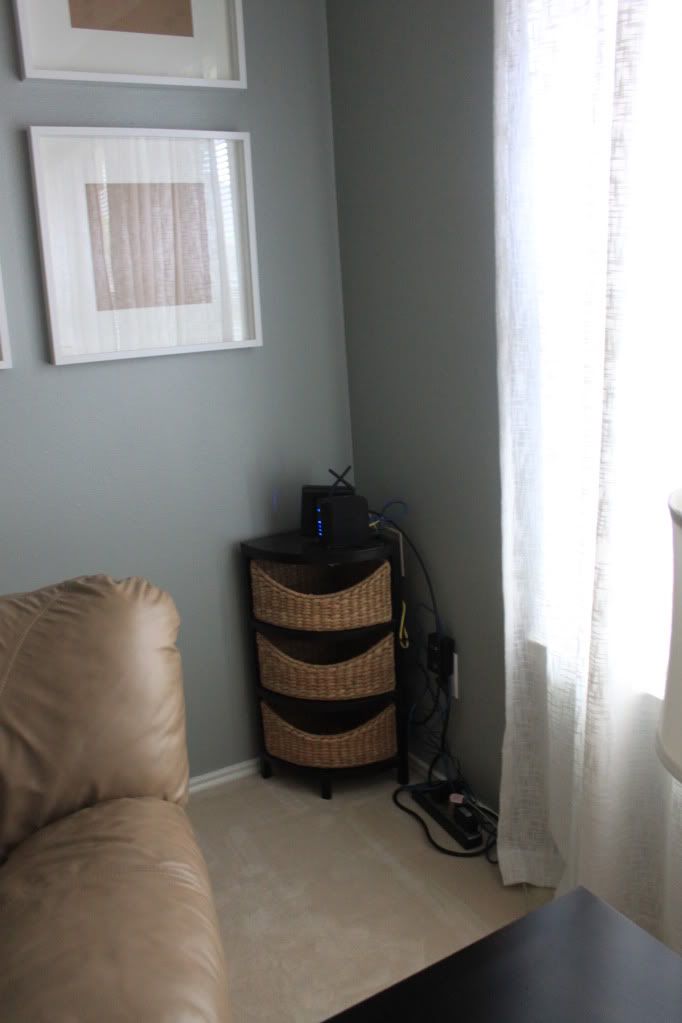
The first step was adding curtains. I am a huge fan of natural light so I didn't want curtains to block out sunlight, but I did want something that offered a little privacy. I also didn't want something with crazy patterns because I like to add "punch" with other smaller accessories that can be switched out more easily.
Will and I looked at several different options and finally settled on some from Target (where else?).

They're kind of blown out in these pictures, but they add just a little somethin' somethin'. (Yes, I realize the curtain by the back door is crooked. Will hung them without anyone to spot him. It will be fixed soon.)
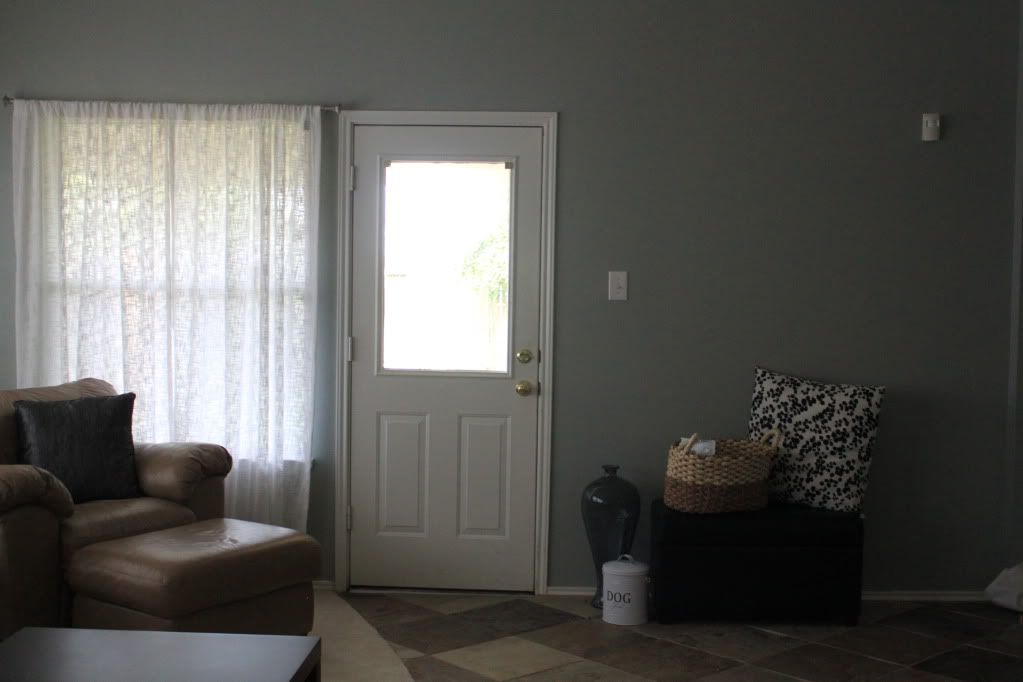
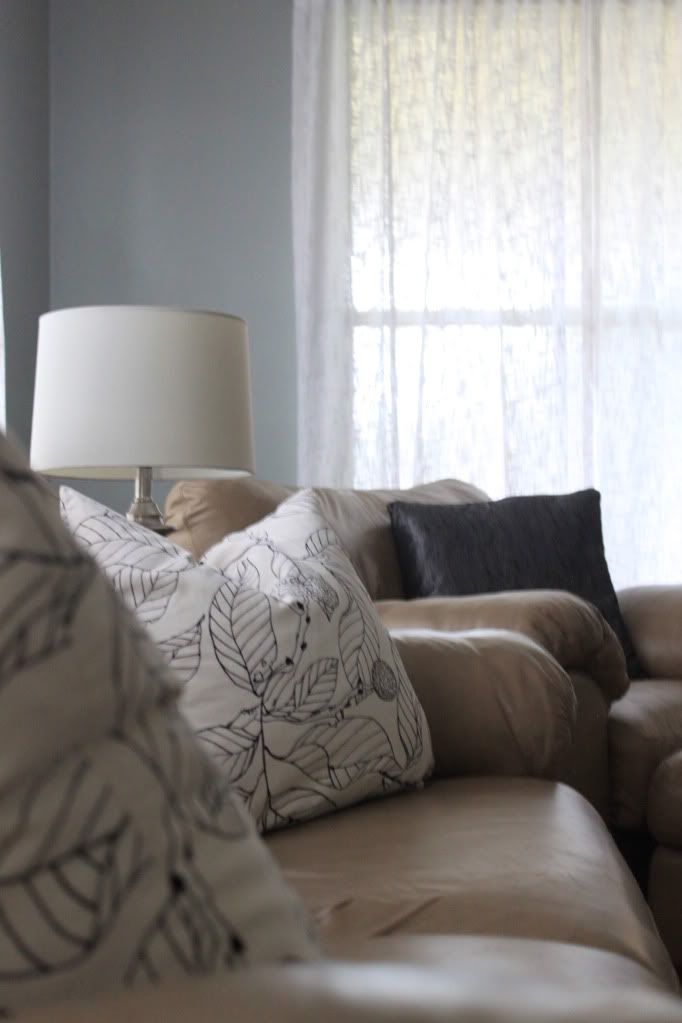
You can see the texture a bit better here.
Also, we moved this storage ottoman out to this wall and put some accessories around it. The ottoman holds a few gifts we keep on hand, as well as some party supplies (like paper plates, candles, crepe paper, etc.). The pillow is one that I made for our apartment, the basket holds dog treats, the white bucket holds dog food, and the blue vase is from Ross (also from our apartment).

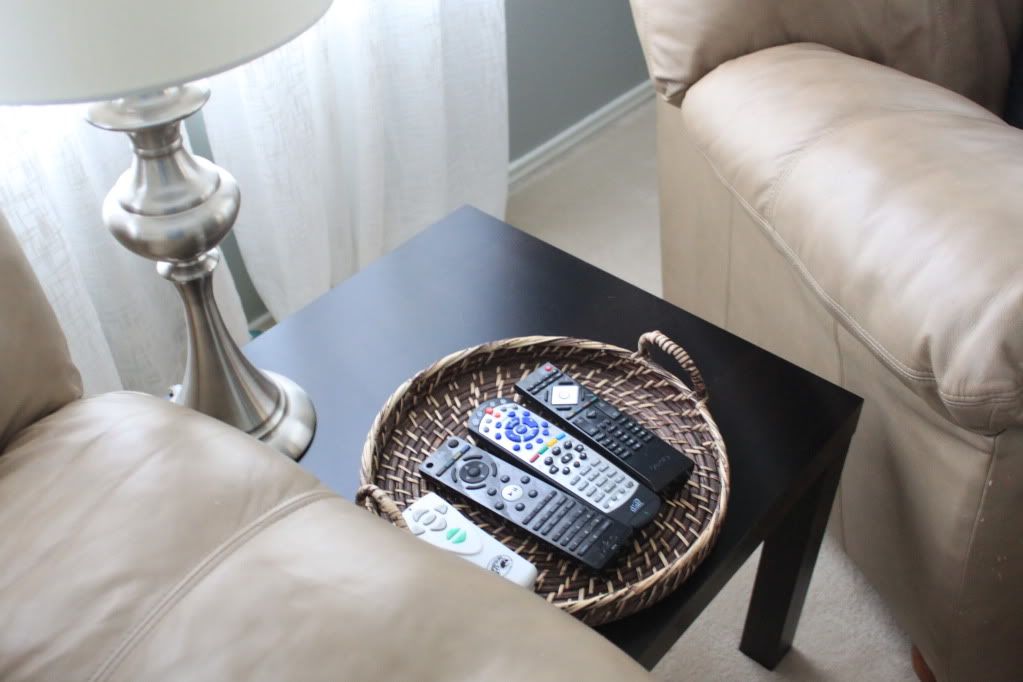
I added a small tray from the Dollar Store to the coffee table to hold a candle and some coasters. I definitely need to find a bigger tray, but this works for now.
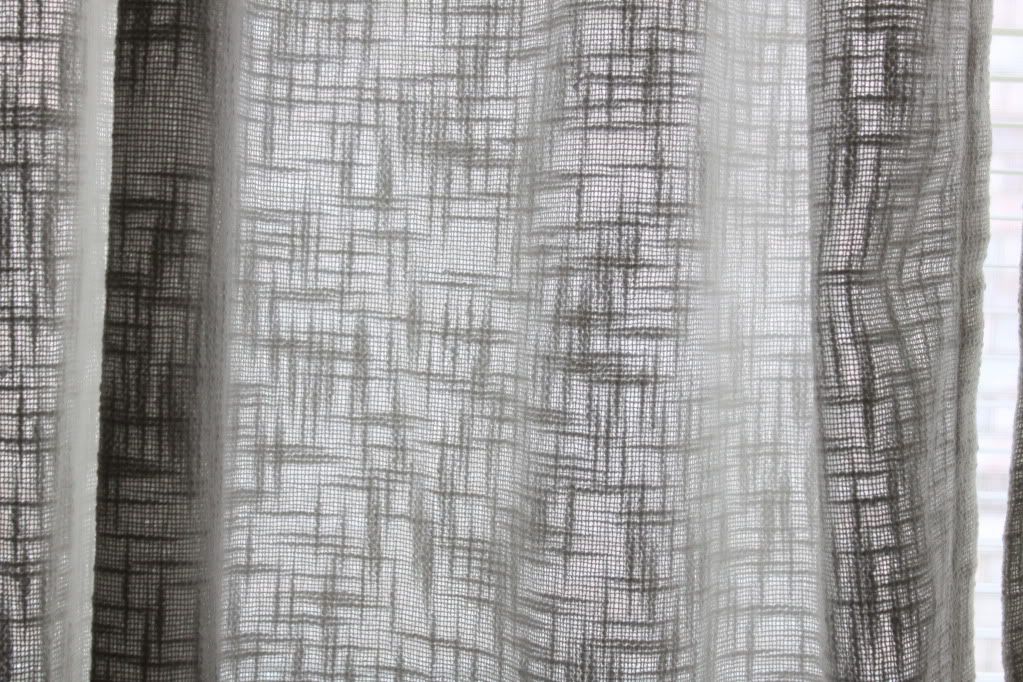
Here is a close-up of the texture of the curtains.
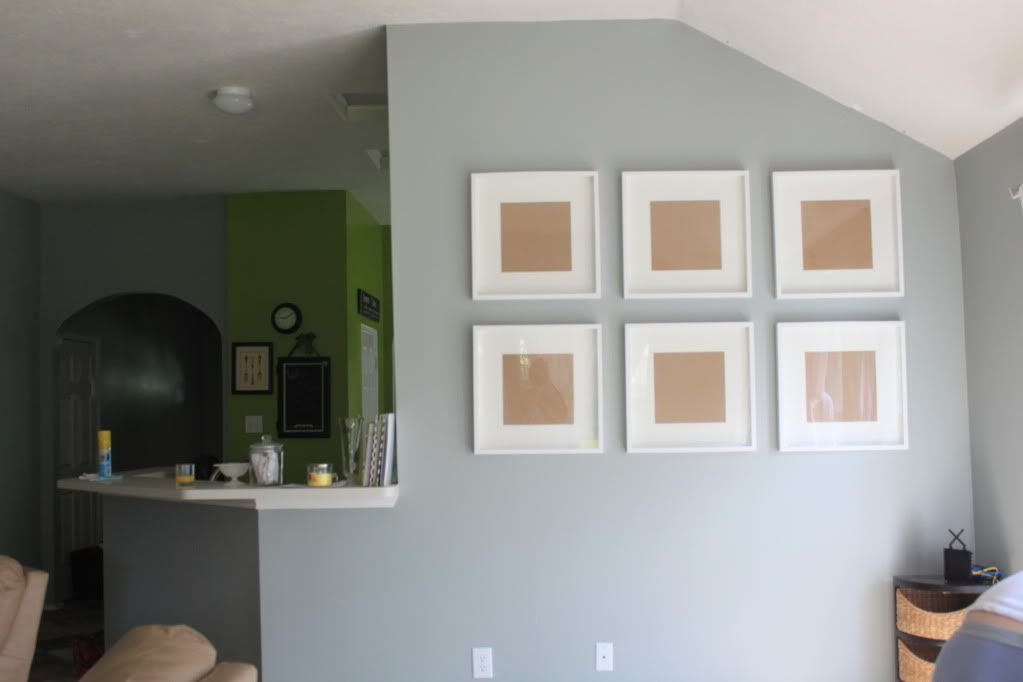
Moving on, the wall that backs up to the kitchen was begging for something. The only problem is that it is a big wall, and I didn't want it to look cluttered. So I copied Young House Love and decided to go for a simple frame collage.
To Ikea we went
 |
| We actually got six |
 |
| Before |
 |
| During |
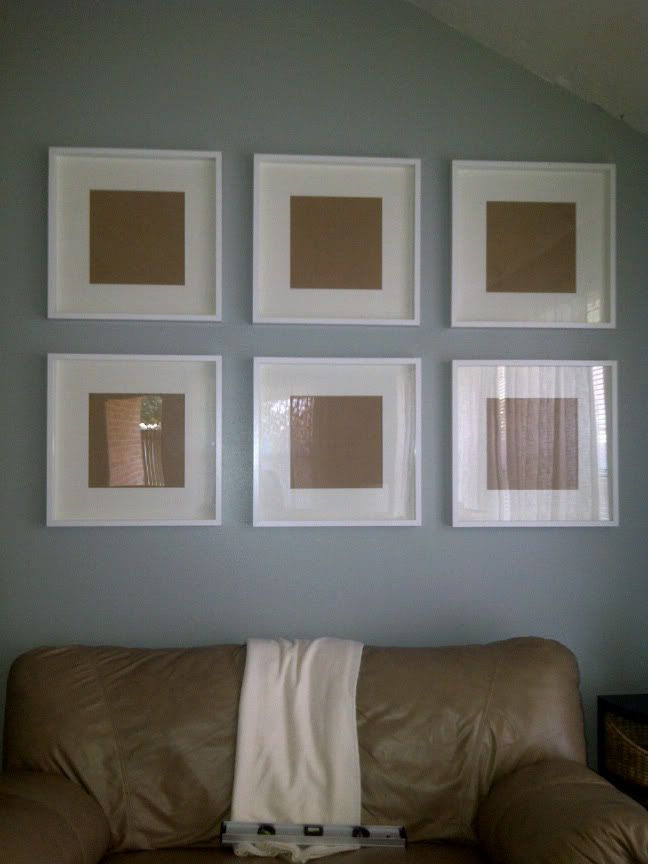 |
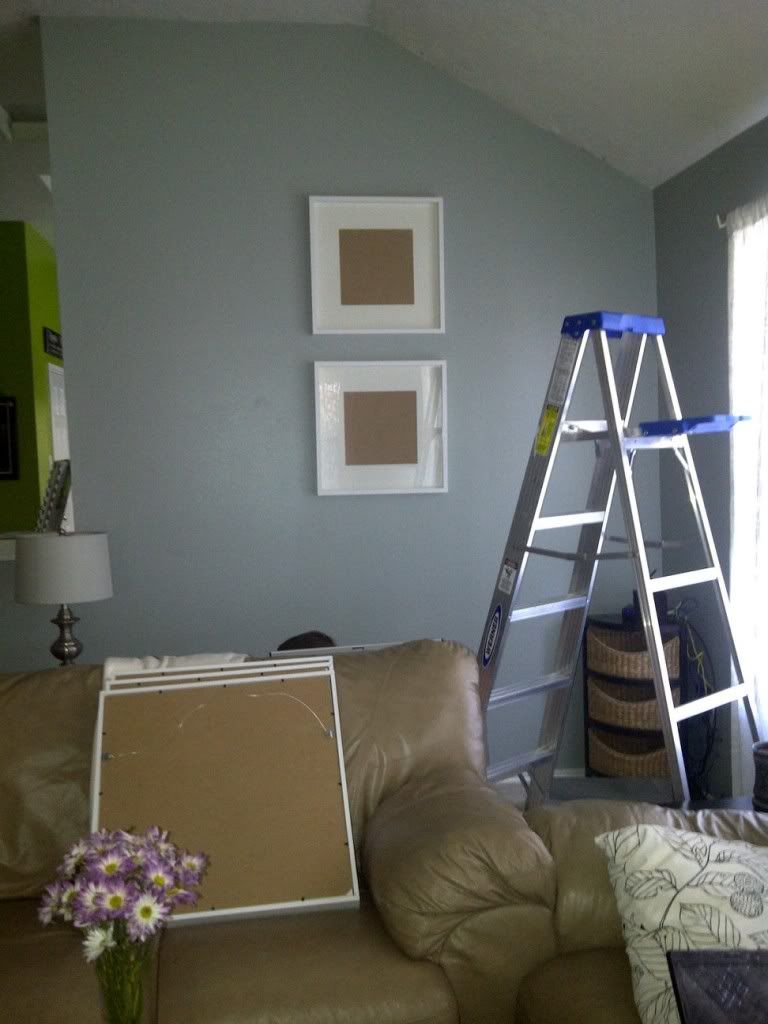
| After |
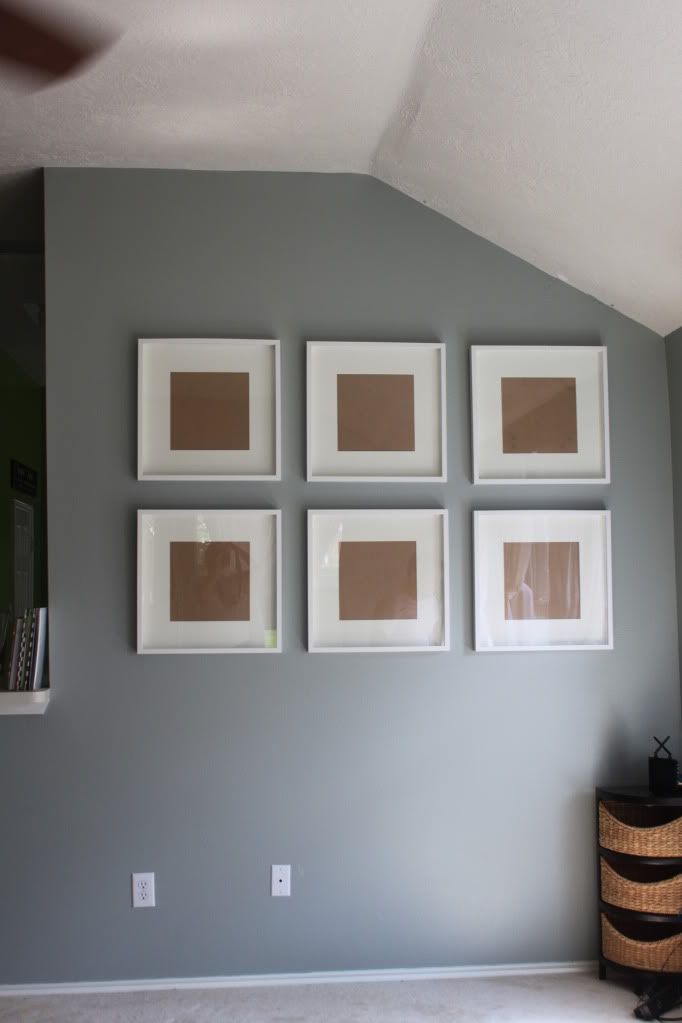
At first I felt like $20 a frame was a little much, but looking at it in perspective $120 for 'art' that covers the whole wall really isn't bad.
I still haven't filled the frames yet, mainly because they're a weird size. The whole frame measure about 19'x19' if I remember correctly, and the inside measures about 11'x11', I think. That means if I want to fill the whole spot I'd have to print 11x13 pictures, which is a poster size (each running about $6 a piece). I think I'm going to print 8x10s, square off the picture, and mount it on scrapbook paper. I plan on putting family pictures in them.
Going back to the little corner by the door, I knew it needed some kind of artwork. I couldn't find anything I really liked for the space since I wanted something with color and pattern and/or texture. Enter, my favorite souvenir ever: my Turkish rug.
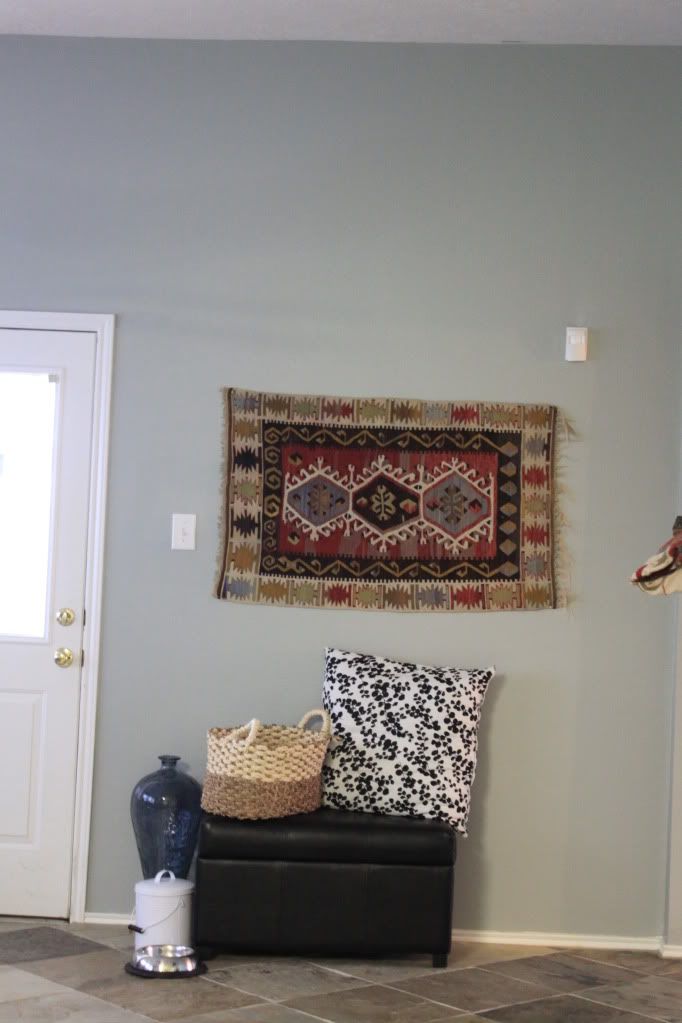 |
| What is my problem with centering things? The rug is centered on the wall but the bench isn't. |
I got this rug on my first trip to Turkey in a small shop in Goreme. It's an original kilim about 90 years old. The owner assured me it could be walked on, but I'm terrified that Scarlett would get a hold of it and rip it up (like she did with my new curtains in the bedroom). I didn't have to put any nail holes in the actual rug because the pattern has some natural holes where the colors switched. I think these basic nails will work well because that's how they had all the rugs in the shop hung.

There are a few things I still want to do in here, like making a no-sew roman shad for the back door (just until we can afford a new back door.) But with addition of just a few things on the walls I think this room is slowly coming together.
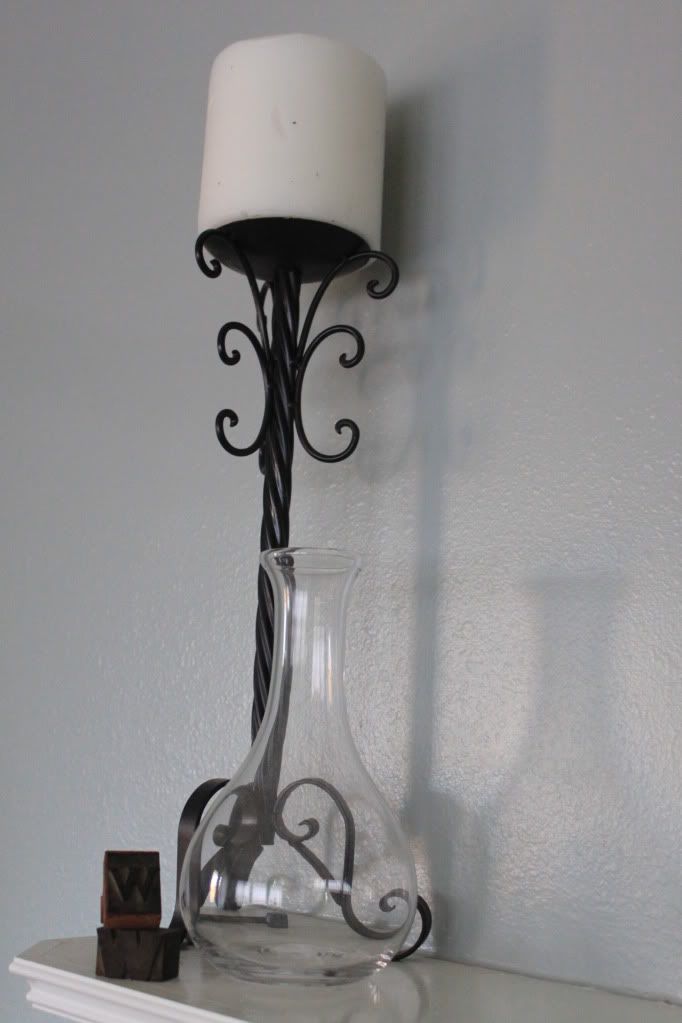
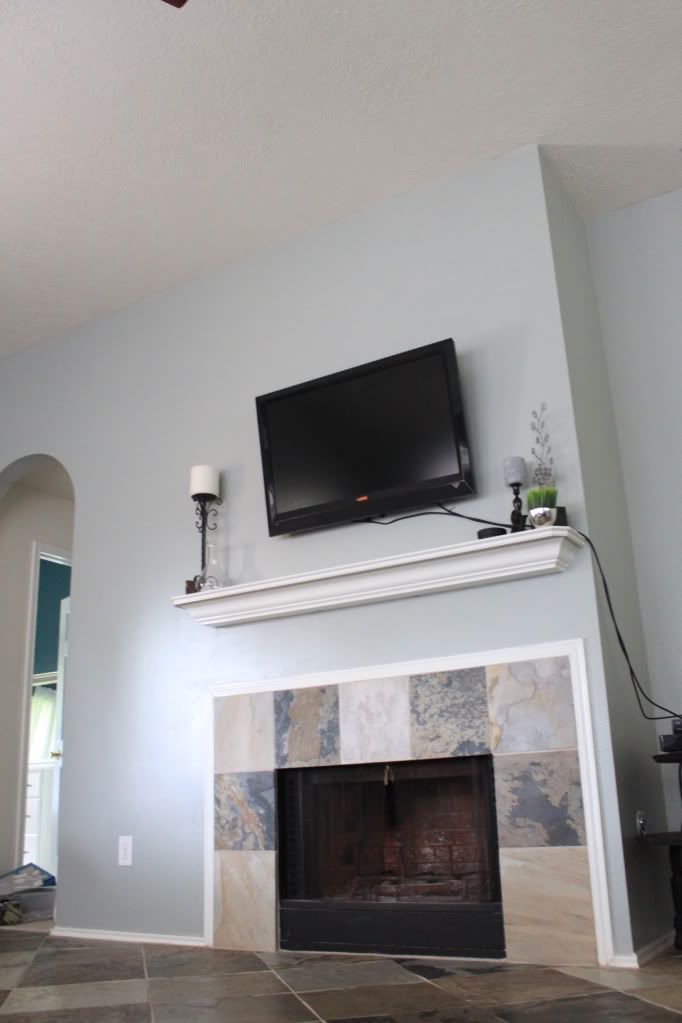
A few detail shots:


Just like the rest of our house, changes are happening slowly but surely. It's amazing how much different a few things like curtains and pictures frames make on the overall feel of the room.
I am linking to Thrifty Decor Chick's August Before and After Party here.
--------------------------------------------------------
Have you made any changes in your house lately?
What is your favorite souvenir? Why?
No comments:
Post a Comment