
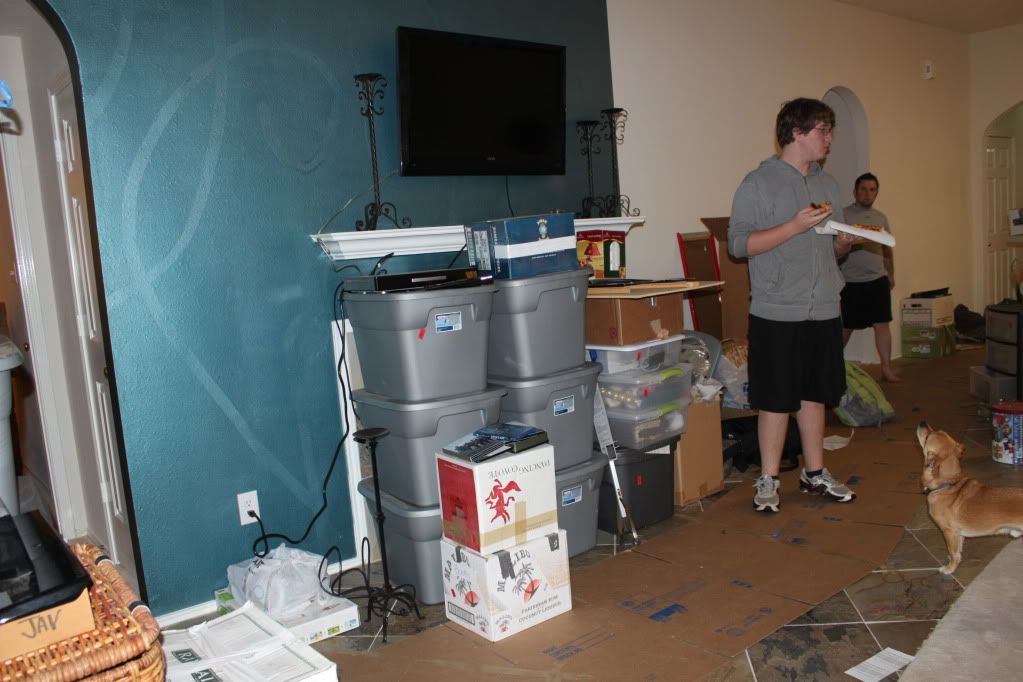
But I was not crazy about the paint color (which matched the crazy accent wall in the living room when we moved in.)


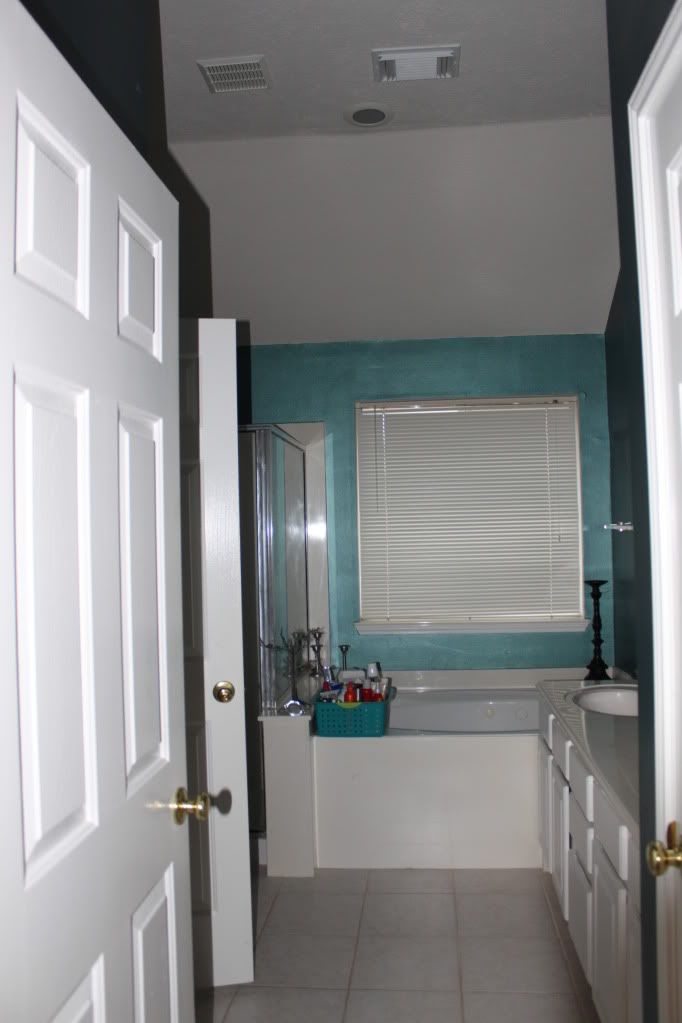 |
| "Before" view from the bedroom |
 |
| Matching paint! |
The reason this was such a big project is because (A) the whole bathroom has really high ceilings (I think they're 12 ft, but they could be 10 ft), which means I spend a lot of time on the top of our ladder, (B) because the previous color was so dark I would have to prime it, and (C) there were a lot of really tiny nooks and "walls" that were really tedious to paint.
I decided to go with "Salt Glaze" by Martha Stewart in semi-gloss.
But first, we (and by we I really mean "I" with a little help from Will occasionally :) ) primed.


#shortpeopleproblems
Le sigh.
Anyway, here are the finished pictures

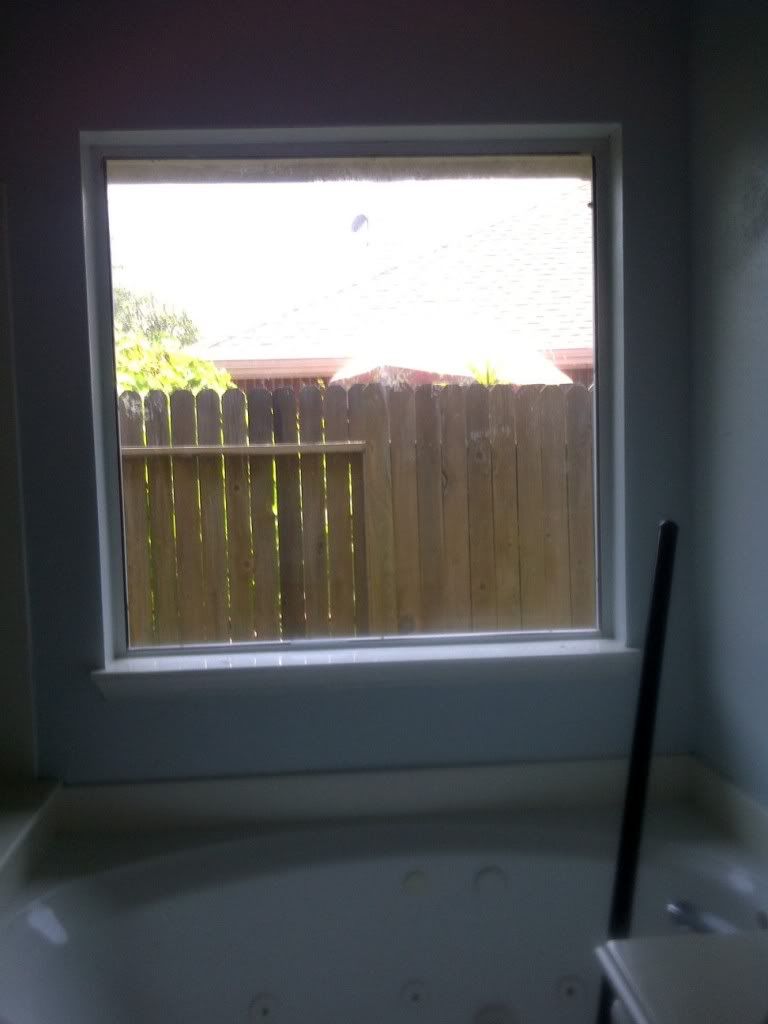 |
| Pre-frosted |
I taped all around the window and hung some paper around the wall so the spray paint didn't get on anything else and we were really happy with the way it turned out. It took several layers and for some weird reason there are still a few spots that aren't "even" but it doesn't bother us enough to try and figure out how to fix it (I tried adding several layers to just those spots but no dice).
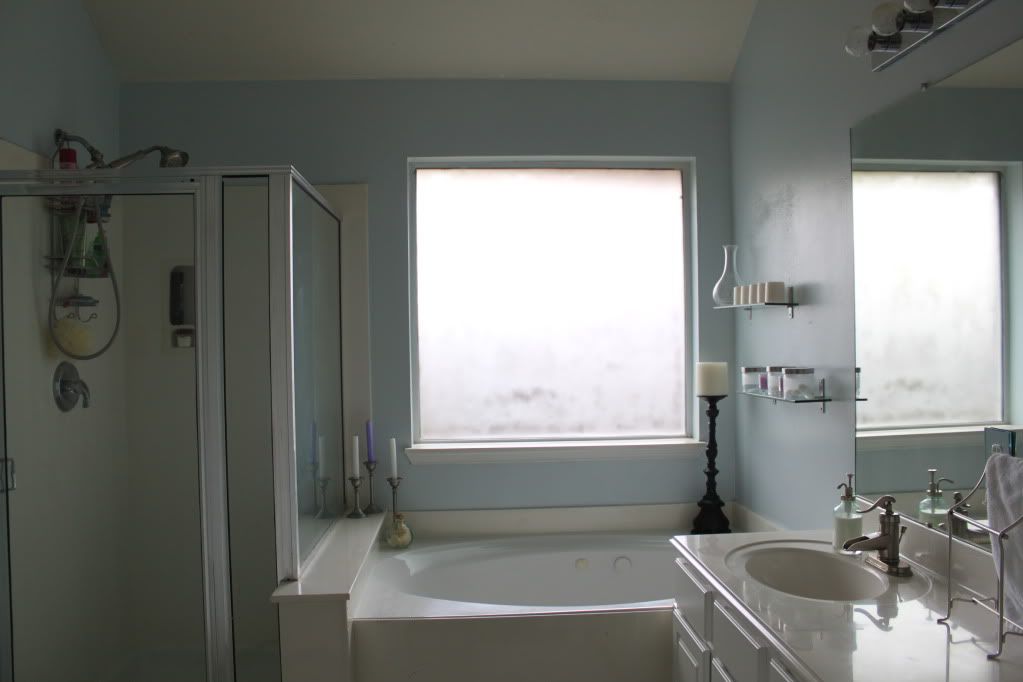 |
| Post-frosted |
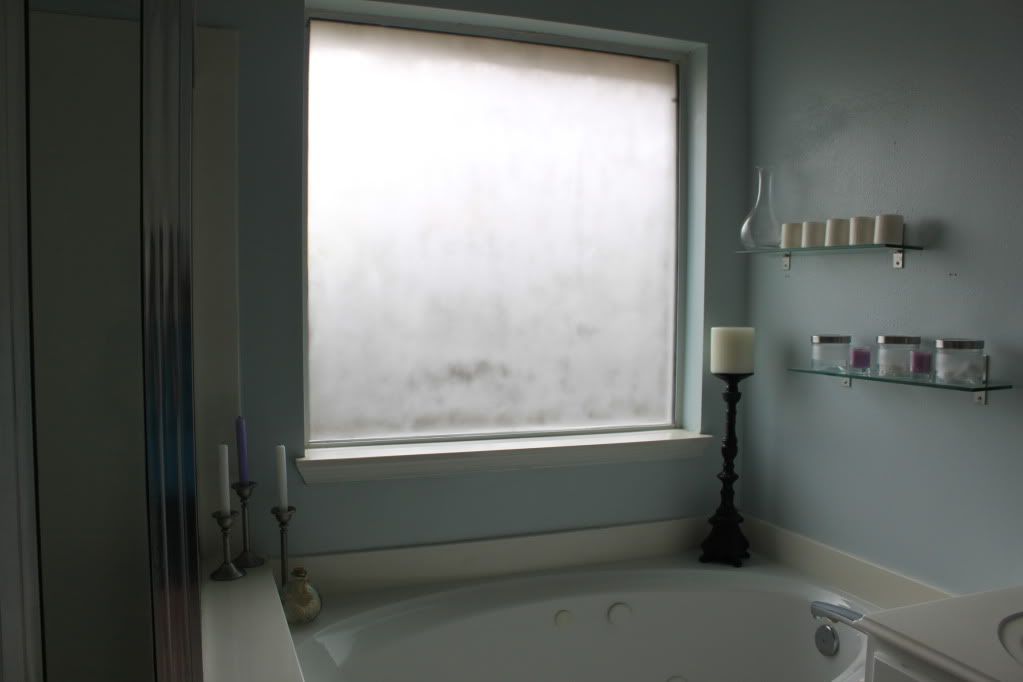 |
| See the few spots along the bottom of the window? |

In this picture you can see the gaping hold in the wall where I took out the medicine cabinet. I am so happy it's gone, but it's looking a little rough unfinished. We were going to replace the sheet rock to make it a solid wall, but I think we're going to finish it out to make a little nook for a vase or something.


The other big thing I did was take out the old towel rack above the tub (I knew we'd never use it) and replace it with some glass shelves from Ikea. Currently they are holding candles and my jars with cotton balls, q-tips, and my flossers.

I hung up some photo frames the day before I left. They're okay for now, but I don't think I'll leave them forever.


Overall, I am so happy with how this room turned out. I wanted it to feel like our own little spa and I definitely feel like we accomplished that. There are still many things I'd like to do in here (replace/paint the door handles, frame out the mirror and add some shelves to the center of the mirror, get some new light fixtures, new artwork, etc.)
Unfortunately, the trim is going to need a lot of touch-ups. When the previous owners painted the teal color, they got a lot of paint on the trim. When the whole room was painted that color it wasn't too noticeable, but now it is.
I'm linking to Sarah at Thrifty Decor Chick:

Have you made any tedious but worth-it changes in your house lately?
that looks like a great color, very serene and relaxing. and the window frosting is a great idea. we are redoing our basement, and we added a half bath which has a window that needs frosting. any tips?
ReplyDeleteThanks for stopping by! I definitely liked the spray paint as opposed to the film stuff, but if your window is small and you have an extra set of hands it could work.
DeleteThe spray paint was way cheaper though, and it was easy for me to do myself. Just make sure you tape up some newspaper or something to protect all the walls around it. I think the directions suggest two-three layers, but I ended using most of the can to make sure it was opaque enough that no one could see in.
For spraying tips, I would suggest trying to hold the can at the same distance away as you move around to make sure one spot doesn't get more than the others. Let each layer dry for a few minutes, but it doesn't have to be hours or anything. I also did different spraying patterns so that if there was one spot that got more on one pass it would hopefully get evened out over the next (spray up and down the first time, side to side the next, diagonally once, and in small circles once).
Hope that helps! I'd love to see it if you end doing it.
this is soooo cute! Definitely frame it out and maybe even do some mini floating shelves and carry your flossers on that side instead!!
ReplyDeleteThanks for stopping by! I like the idea of mini shelves... I'm thinking either that or just making it a place for fresh flowers :)
Delete