
This project was a pretty easy one and really would have only taken one evening if I had been motivated enough to spray paint it that day. Though it was a bit tedious, watching The Mentalist definitely helps the time pass.
Here's the original photo I pinned:
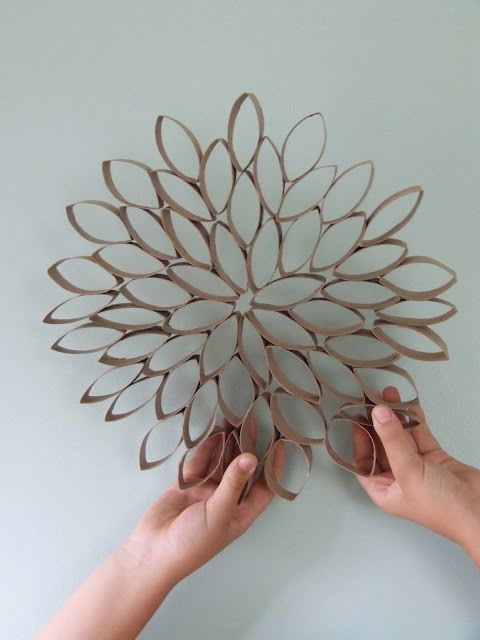 |
| Original Source |
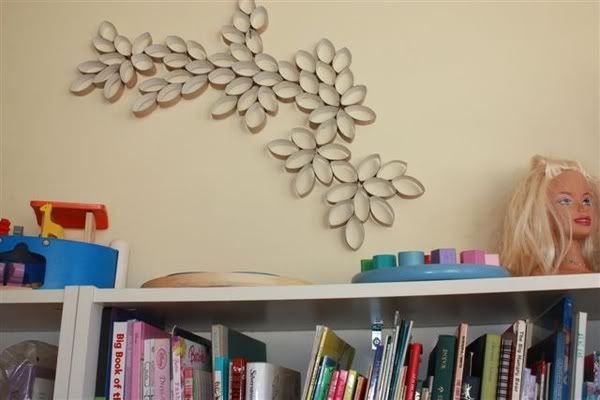 |
| Original Source |
The pictures are pretty self-explanatory, but here's what I did.
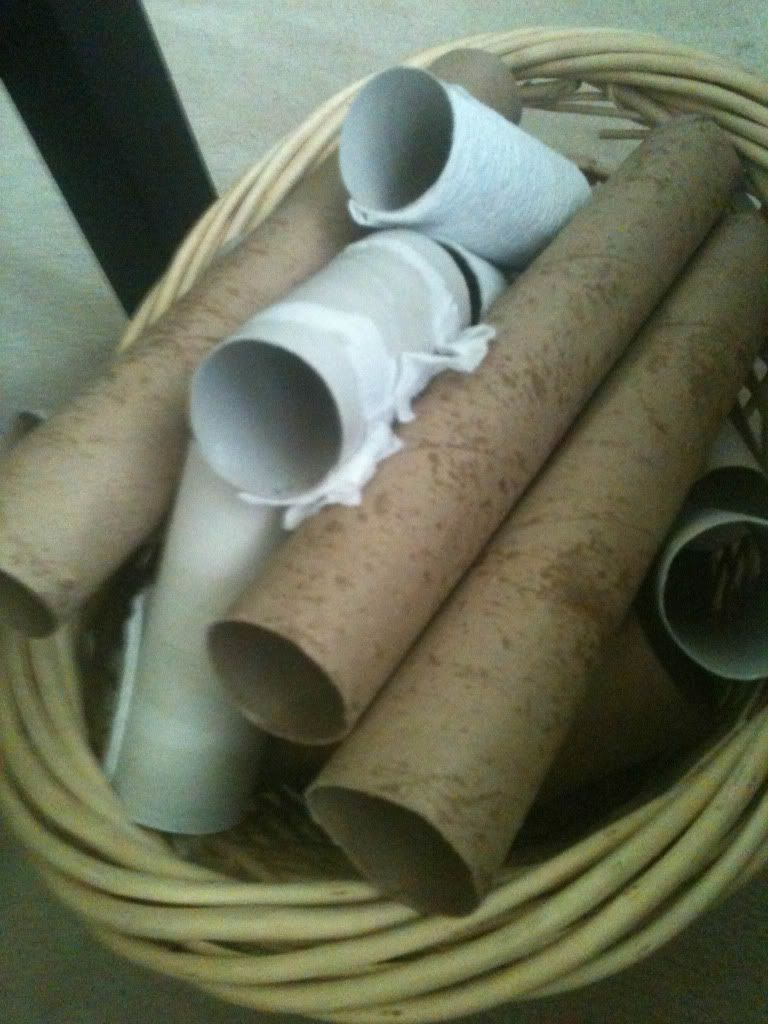
Gather your paper towel and toilet paper rolls. I had been collecting for maybe a month or two. I also asked my mom to keep her paper towel rolls (we don't use paper towels). I didn't count exactly how many I used, but this is a reasonably small/medium basket and it was full.

Cut them into 1-1.5 in pieces. Mine were not exact and it didn't really cause any issues. You can see in the bottom right that I kind of laid out the pieces before I started gluing to get a general idea of what I wanted.
After cutting all your pieces dig out your glue gun and a lot of glue. I wanted mine to be fairly large and be kind of a "statement" piece (yes, I just said I wanted my toilet paper roll art to be a statement piece), but I also remembered the inspiration photo that had the pieces branched out.
I kept gluing until I was satisfied with what I had. The original post used clothes pins to keep her pieces in place while they dried, but I just held the pieces between my fingers while the hot glue dried.
This is what I ended up with:

A substantial center with a few 'branches.'
Now it's time to spray paint. By this point I had decided to put it in my laundry room and I wanted something fun and bright. Enter:

After one coat:

I let it dry overnight in the garage and brought it into the laundry room the next day.

I forgot to snag a close-up of the final product, but you get the general idea. As you can see from this picture, it's probably a little small for this wall. Maybe I'll take it down and add to it when I go back down.

So, that's one Pinterest project on the books. I might add to it when I go back (who am I kidding, it's probably going to stay exactly how it is.)
I'm linking up to Katie over at Bower Power and Sherry over at Young House Love.
Have you tackled any project from Pinterest lately?
This is so cool! I just followed your link from YHL!
ReplyDeleteThanks for stopping by! I'm glad you like it :)
Delete